Thickness, screed type, tube encapsulation, drying, heating-up protocol: everything the screed installer checks to guarantee the performance of your underfloor heating in Belgium.

By 2026, the duo heat pump + underfloor heating has become the standard combination in new Belgian constructions. Since the ban on fossil fuel systems in new buildings, this solution is also increasingly being adopted in major renovations. But here's what few people know: the performance of underfloor heating depends 80% on the quality of the screed that encapsulates the pipes.
The heating installer lays the pipes. It's the screed layer who determines whether the system will work well or poorly. This guide explains, from the screed layer's perspective, everything you need to understand before getting started.
In a hydronic underfloor heating system, the screed serves three essential purposes:
A poorly laid, overly thick, or incorrectly formulated screed compromises the system: slow temperature rise, localized cold spots, and unnecessarily high energy consumption. In the worst-case scenario, cracks can appear due to repeated thermal cycles.
This is the dominant system in new construction and major renovations. Cross-linked polyethylene pipes are laid on the insulation, connected to a heat pump or a low-temperature boiler. The screed then encases the entire system.
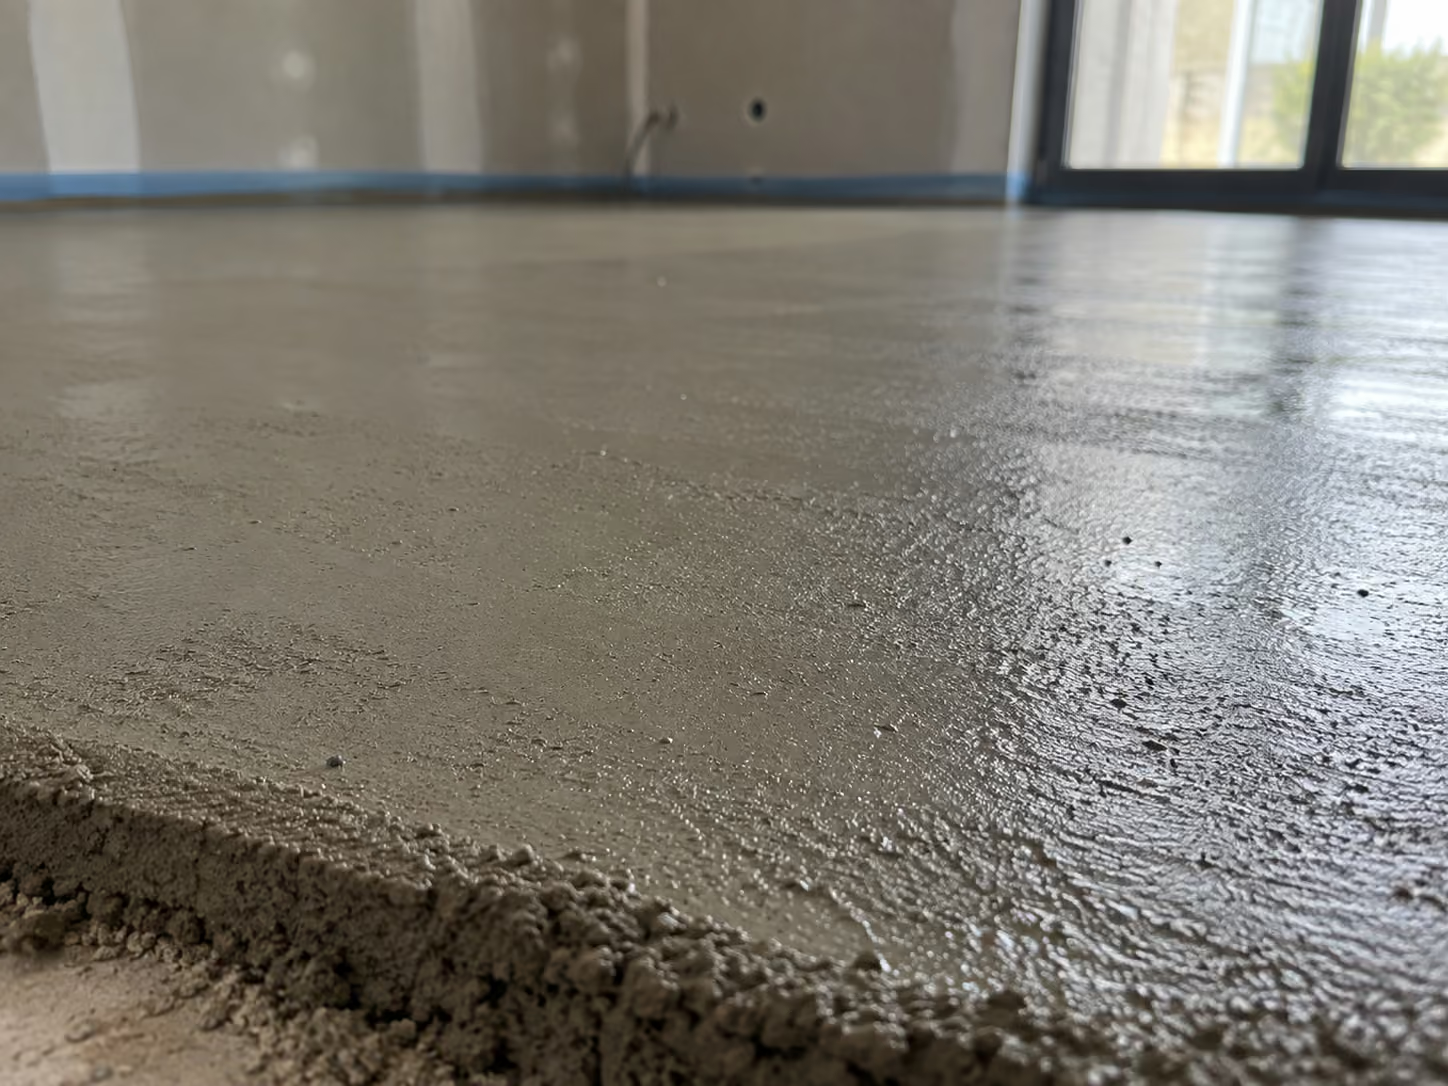
For this system, the flow screed (anhydrite or liquid cement) is highly recommended: its fluidity ensures perfect encapsulation without manual intervention between the pipe coils.
Heating cables or resistance mats, laid directly on the slab or on a leveling compound. Mainly used for small areas (bathroom, kitchen) or renovations where available height is limited. Screed requirements are less stringent, but insulation under the screed remains essential to avoid heating the downstairs neighbor's ceiling.
With a thermal conductivity of 2.5 W/m·K, anhydrite screed transfers heat 2 to 3 times more efficiently than traditional screed. Self-leveling, it ensures perfect encapsulation of the pipes without manual intervention between the coils.
The result: faster temperature rise, improved thermal homogeneity, and up to 8% savings on heating bills compared to a classic cement screed.
Important note: sensitive to moisture, anhydrite is not recommended in bathrooms, garages, and exposed areas.
Conductivity of 1.2 W/m·K, fluid and perfectly compatible with wet areas. Slightly faster drying than anhydrite. A good alternative in rooms where anhydrite is not recommended or when project deadlines are tight.
Its higher viscosity makes tube encapsulation less precise. The required thickness is greater (8 to 10 cm in total), which increases the system's thermal inertia: the floor will take longer to reach temperature. An acceptable solution in some cases, but to be avoided if thermal performance is a priority.
Useful when the structure cannot support the loads of a traditional screed. Its low thermal conductivity negatively impacts the performance of the underfloor heating. To be reserved for situations where no other solution is feasible, after studying the existing structure.
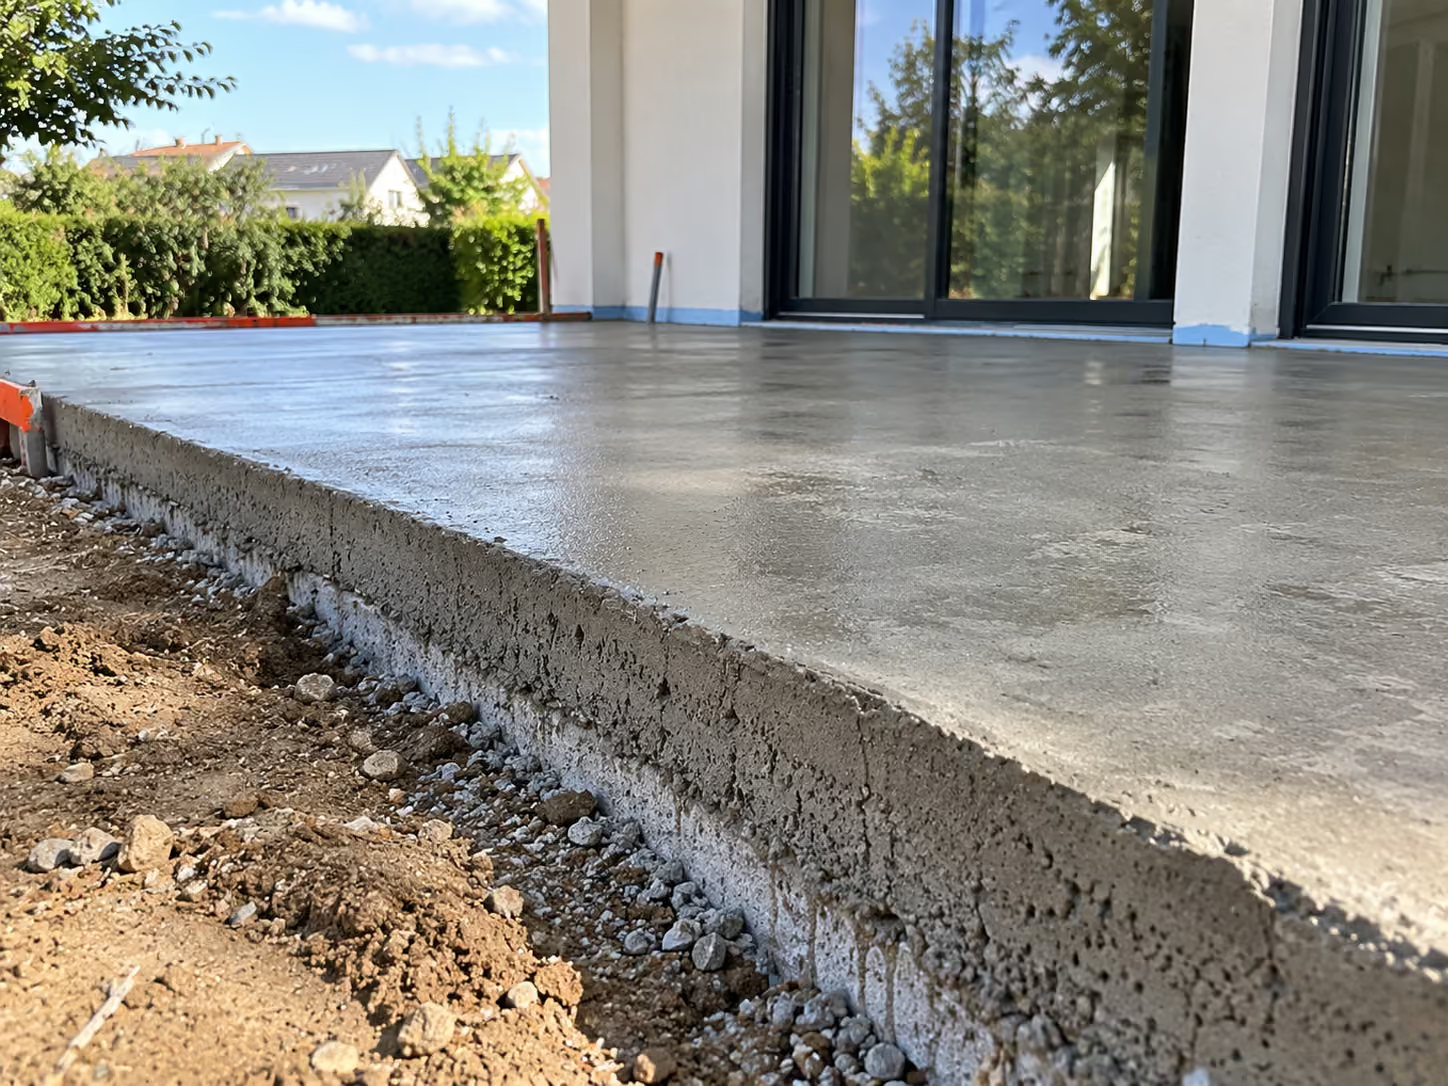
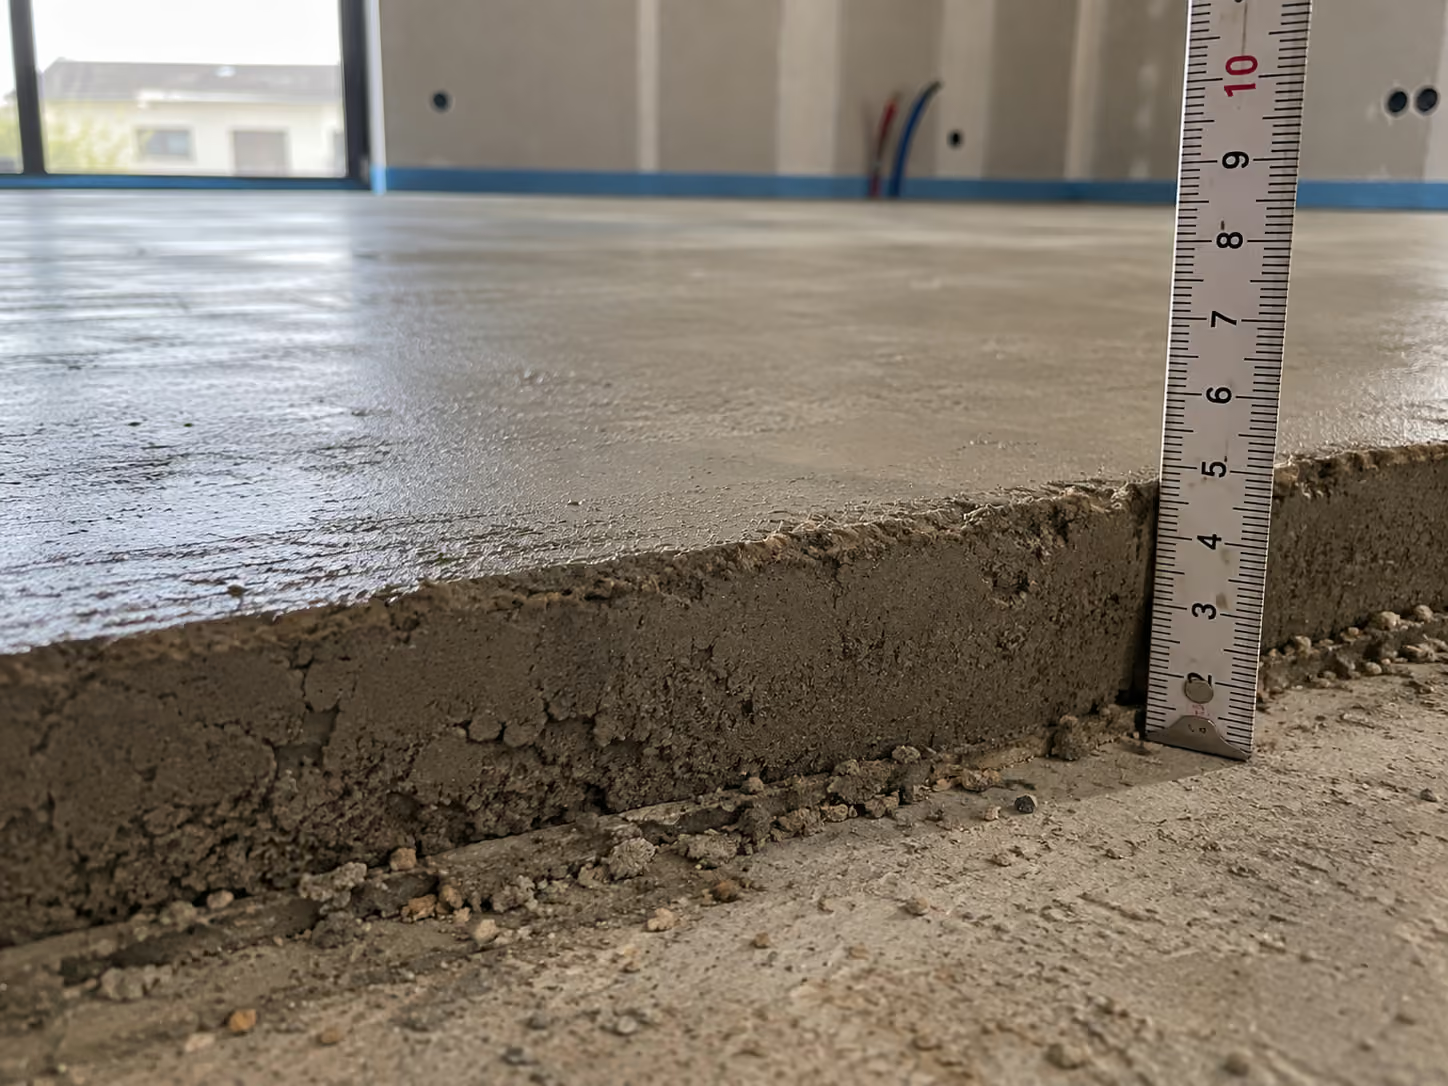
Screed thickness is a delicate balance: too thin, it risks cracking due to thermal expansion. Too thick, it stores too much heat and slows down temperature rise cycles. The basic rule is to respect a minimum thickness of 3 cm above the highest point of the pipe.
Tube spacing (the "pitch") directly influences the thermal power delivered:
Without thermal insulation beneath the heated screed, a significant portion of the heat escapes downwards, towards the slab or ventilated crawl space. The system's efficiency plummets. Insulation is not an option; it's an absolute technical prerequisite.
Recommended solutions: XPS panels, sprayed PUR foam, or PIR panels. The minimum recommended thickness is 8 cm for a ground floor over a cold slab. In renovations with height restrictions, high-performance PUR foam can achieve the required values with reduced thickness.
To choose between PUR and EPS, consult our article PUR vs EPS: which thermal insulation to choose under your screed. You can also read our guide Screed with or without thermal insulation: what are the differences.
This is the most frequently overlooked step on construction sites. However, insufficient drying or too rapid a temperature increase are the primary causes of cracking in heated screeds.
According to DTU 65.14, the heating process must follow a strict four-step protocol:
⚠️ Warning: too rapid a temperature increase causes irreversible micro-cracks in the screed. The DTU 65.14 protocol is not optional. This is one of the most common errors on construction sites.
The golden rule: the total thermal resistance of the flooring must remain less than or equal to 0.15 m²K/W. Beyond that, the flooring acts as an insulator and prevents heat from passing into the room.
Installing underfloor heating in an existing home is entirely possible, but it comes with constraints that new builds don't have.
Constraint 1: Ceiling height. A standard screed with insulation adds 10 to 15 cm to the floor height. In older homes, this can block doors, misalign stairs, or create issues with thresholds. Possible solutions include: thin anhydrite screed (minimum 4 cm above the pipes), a dry system without screed, or milling the existing screed.
Constraint 2: Adapting the heat generator. To function correctly at low temperatures (35-40 °C), underfloor heating must be powered by a heat pump or a low-temperature boiler. A high-temperature generator is incompatible with a properly sized underfloor heating system.
Constraint 3: Construction schedule. The sequence of screeding, drying, gradual heating, and then laying the floor covering requires an unavoidable delay of 5 to 8 weeks. This must be factored into the construction planning from the outset to avoid unpleasant surprises.
To learn more about the types of screeds available, consult our article Traditional, Reinforced, or Liquid Screed: What are the Differences and Advantages?.
Are you installing underfloor heating and looking for a specialized screeding contractor in Belgium? Contact Davide Chape for a free quote. We operate in Brussels, Wallonia, and the surrounding areas.

Do not hesitate to contact us directly: our team is always available to assist you and provide a 100% free quote.


Your expert in screeds, thermal insulation, and acoustic floor insulation.