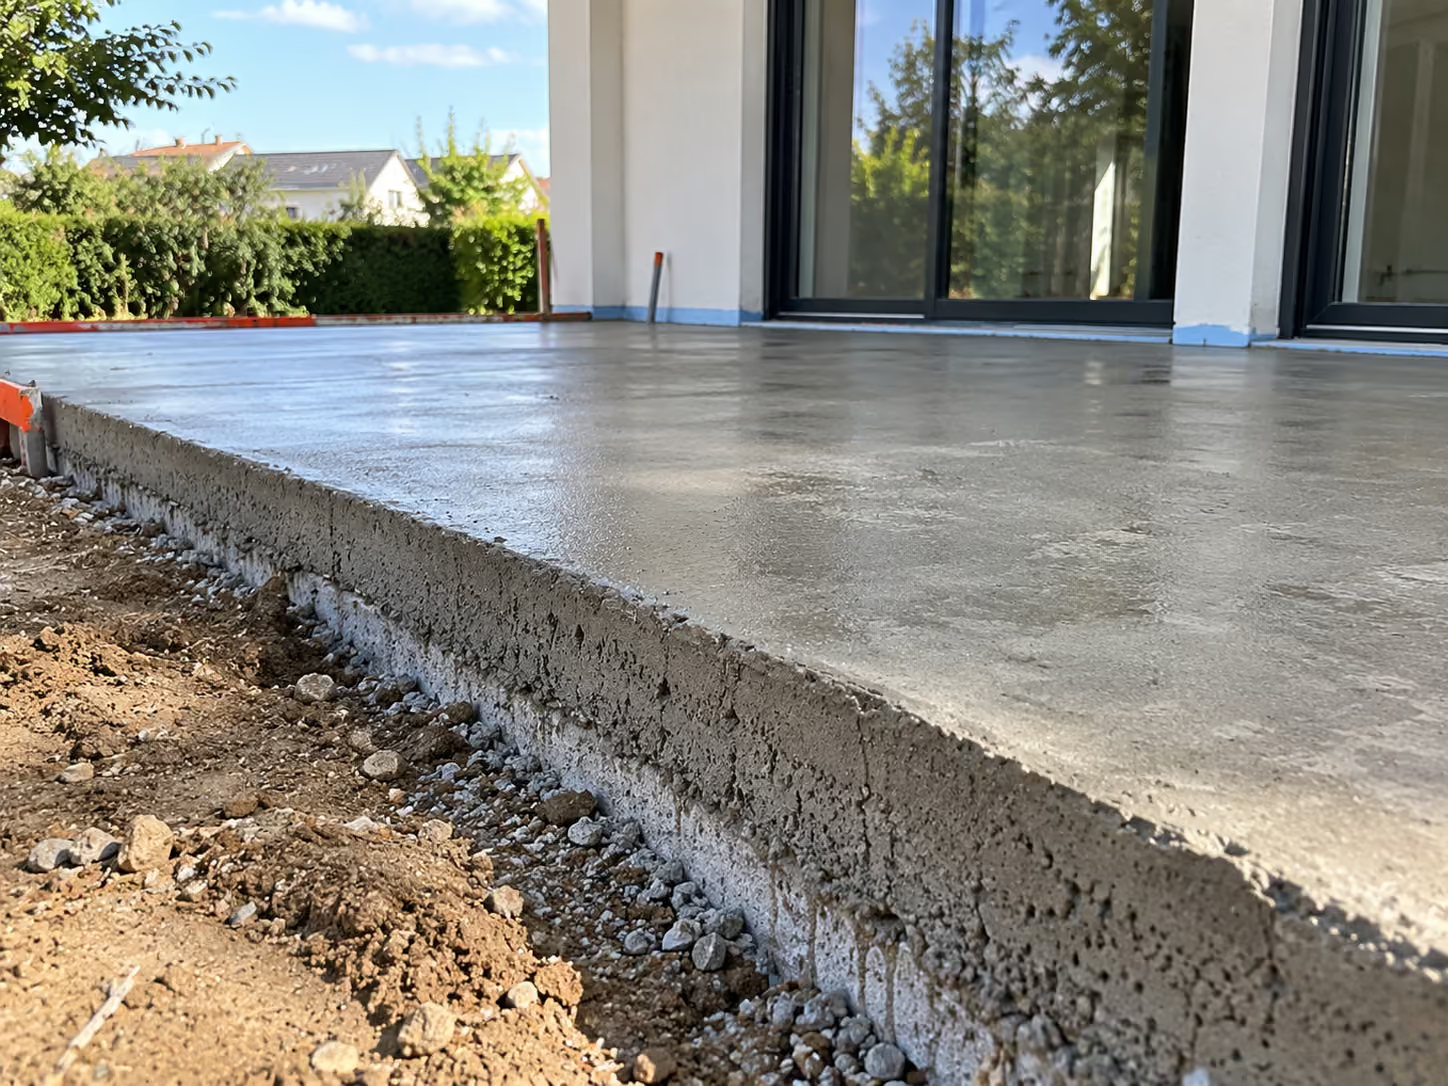
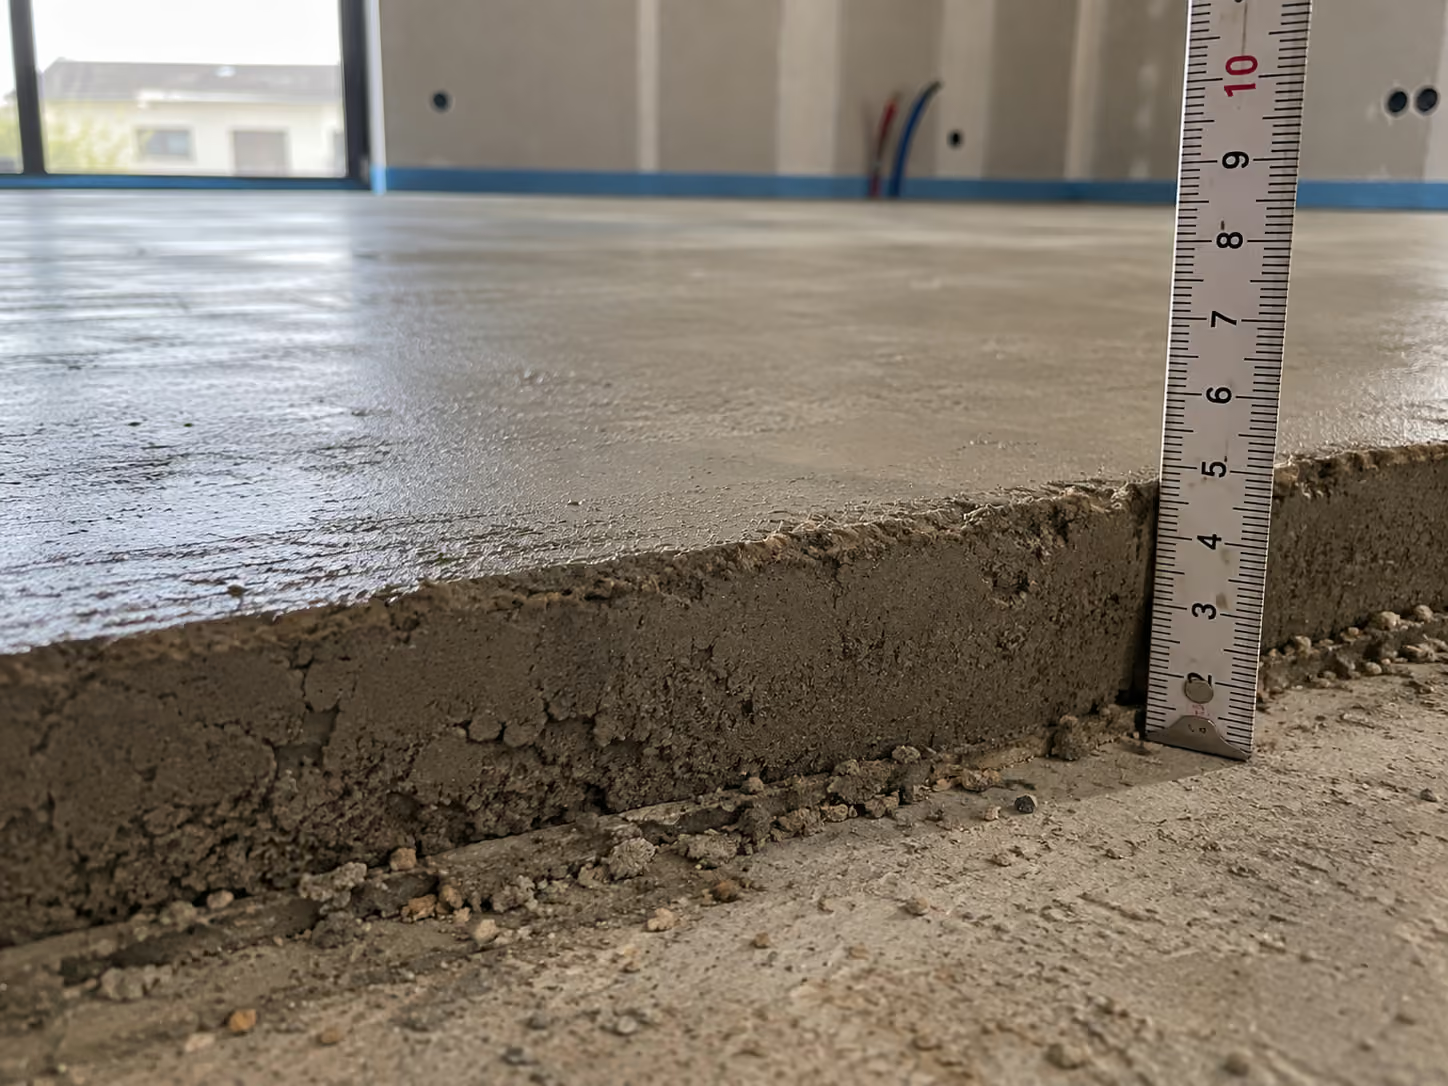
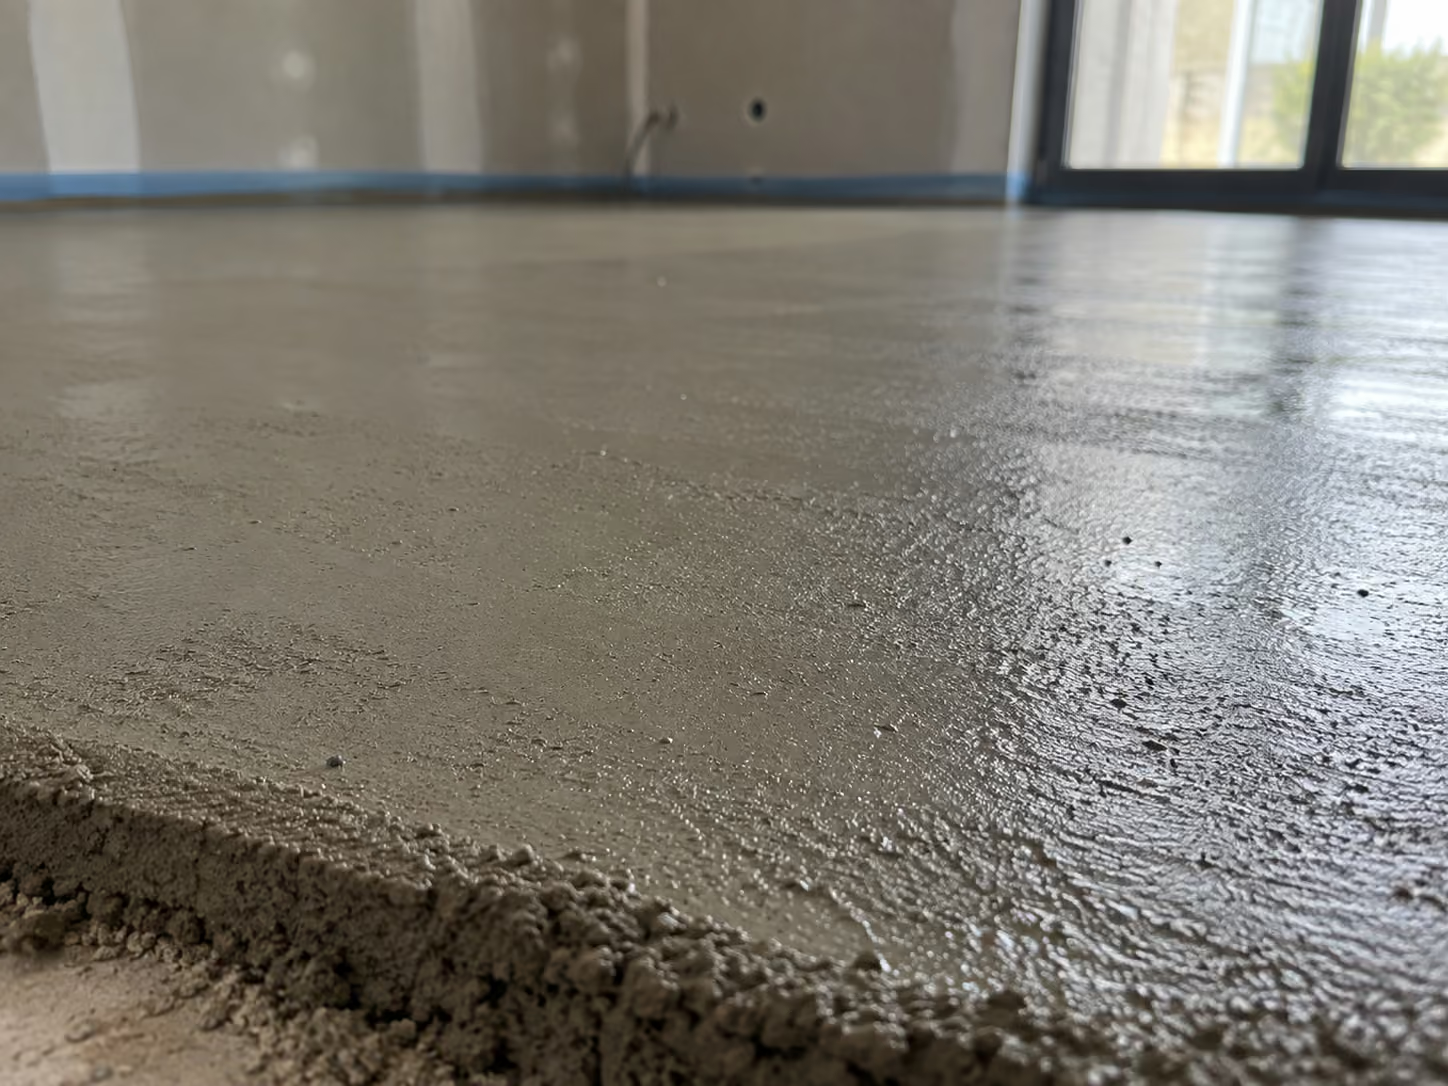
Screed drying before tiling or parquet flooring: deadlines by type and thickness, residual moisture thresholds, carbide bomb test, and mistakes to avoid in Belgium.

The screed has just been laid. The tiler is calling to set a date. The flooring company is waiting for the green light. And you're wondering: is it ready or not?
This is the question we get asked most often on site. The honest answer: it depends. And getting it wrong can be very costly. Here is everything you need to know to avoid making a mistake.
For a cement screed under normal conditions, allow for approximately 1 week of drying time per centimeter of thickness up to 5 cm, then 2 weeks per centimeter beyond that. That’s about 4 weeks for 4 cm, and up to 14 weeks for 8 cm. For an anhydrite screed, allow 6 to 10 weeks depending on the thickness.
Three nuances change everything:
We commonly talk about the screed "drying," but this term is technically inaccurate. What happens in the first few weeks after installation is primarily a chemical hydration reaction : the cement (or anhydrite) reacts with the water to form crystals that harden the material. It is not simply evaporation.
This nuance explains why the surface may seem dry and hard a few days after installation, while the interior is still full of moisture. And that is precisely where mistakes happen: you see a "dry" surface, you install the flooring, and the damage appears weeks later.
Being walkable does not mean it is ready for flooring. These are two very different states.
This is the first question that comes up on a job site, because it holds everyone up: the plasterer, the electrician, the carpenter.
A cement screed becomes walkable after 24 to 48 hours. An anhydrite screed requires more like 48 to 96 hours, because its surface remains susceptible to marking for longer.
Walkable here means: walking normally, without heavy loads and without dragging equipment. Placing pallets, rolling a loaded wheelbarrow, or setting up scaffolding requires waiting longer and distributing the weight using boards.
One precaution remains valid throughout the entire drying period: do not leave any plastic or waterproof material on the floor for several days. Moisture gets trapped underneath and creates a spot that will dry weeks behind the rest.
The rule of thumb: about 1 week per centimeter of thickness up to 5 cm, then 2 weeks per additional centimeter beyond that. These timeframes assume optimal conditions: an ambient temperature of 20°C and relative humidity below 65%.
It is a paradox few people are aware of: liquid anhydrite screed is quick to install and self-levels, but it retains moisture longer than cement screed and requires much stricter residual moisture thresholds.
Critical point: anhydrite is sensitive to water. Prolonged exposure to moisture during the drying phase can cause irreversible damage.
For projects with tight schedules, fast-drying screeds offer significant time savings, often cutting several weeks off the timeline compared to traditional screed. When deadlines are tight, this is an option to consider from the start, not a last-minute fix: the choice must be made before pouring.
This is where timelines stretch the most and where mistakes are the costliest.
Two phases must follow one another, and they cannot be swapped.
Natural drying first. The heating must remain off for at least 21 days for cement screed, and longer for anhydrite. Turning it on too early causes sudden shrinkage and cracks the screed around the loops.
Next comes the heating phase. The temperature is raised gradually, in increments of a few degrees per day, until the maximum operating temperature is reached. It is maintained for several days, then lowered just as gradually. This procedure completes the core drying process and stabilizes the screed before installation.
The exact protocol depends on the installed system and the type of screed. It must be documented: the heating-up report is the document that the tiler or flooring installer will require before providing their warranty.
Humidity thresholds are also stricter than for standard installations. Expect several weeks longer in total compared to an equivalent screed without underfloor heating. The configuration details are covered in our article on screed and underfloor heating.
Each of these mistakes can cause the flooring to peel, blister, or crack, and may even void the installer's warranty if the screed did not meet the required thresholds at the time of installation.
This is the only legally recognized method in the Belgian construction industry. How it works:
Thresholds to be met before any glued installation:
This document is the only valid reference in the event of a dispute with the flooring installer. Request it before giving the green light for installation.
Place a 50 x 50 cm piece of plastic film on the screed and tape down the edges. Leave it for 24 hours. If condensation appears under the film, the screed is still too damp. This test is a useful initial indicator before calling in the tiler, but it has no legal standing.
Certain moisture-regulating adhesives allow for shorter installation times on cement screeds in specific cases. However, residual moisture thresholds still apply; check with your tiler to see which products are suitable for your situation.
Wood is hygroscopic: it absorbs residual moisture and will warp permanently. Hardwood installed on a damp screed will swell, develop gaps at the joints, and lift. For glued-down solid hardwood, the 2% threshold on cement screeds is mandatory. Engineered hardwood installed as a floating floor is slightly more forgiving, but the risk remains real. The wood must also be acclimated in the room for 7 days before installation.
Less sensitive to moisture fluctuations than wood, but the adhesive used for glue-down installation will react to residual moisture. The same strict thresholds apply. For floating installations, there is slightly more leeway, but staying below 2% remains the prudent standard to avoid long-term issues.
For glue-down installations, residual moisture thresholds are mandatory, as the adhesive reacts directly to the moisture in the screed and can break down or bubble. With floating installations, the requirements are theoretically a bit more flexible, but the 2% threshold remains the safe benchmark. The risk of long-term damage is simply delayed, not eliminated.
The calendar provides an estimate, but measurement provides authorization. A screed installer who gives you a installation date without measuring the residual moisture is basing your project on a guess. One who refuses to sign off until the threshold is reached is saving you from a disaster that no one will cover.
To learn more, check out our articles on traditional screed vs. anhydrite liquid screed and on the mistakes to avoid before pouring a screed.
Davide Chape tells you exactly when your floor is ready for its covering. We perform carbide moisture testing on-site and provide you with a certificate. Contact us for a quote or to schedule a measurement.

Do not hesitate to contact us directly: our team is always available to assist you and provide a 100% free quote.


Your expert in screeds, thermal insulation, and acoustic floor insulation.