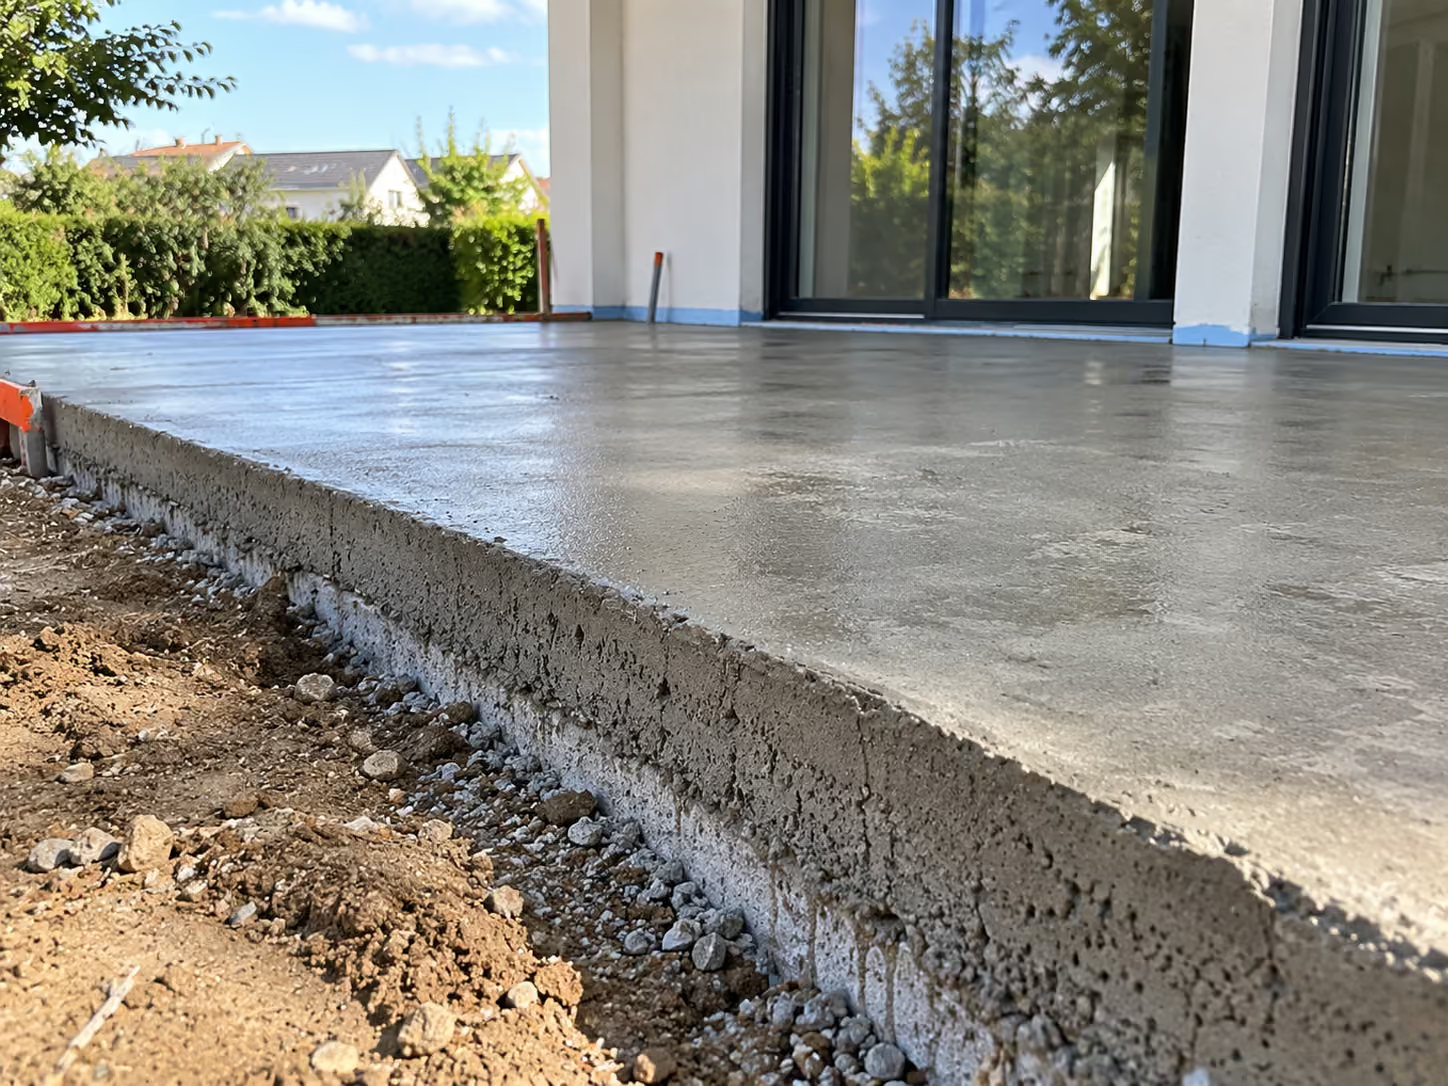
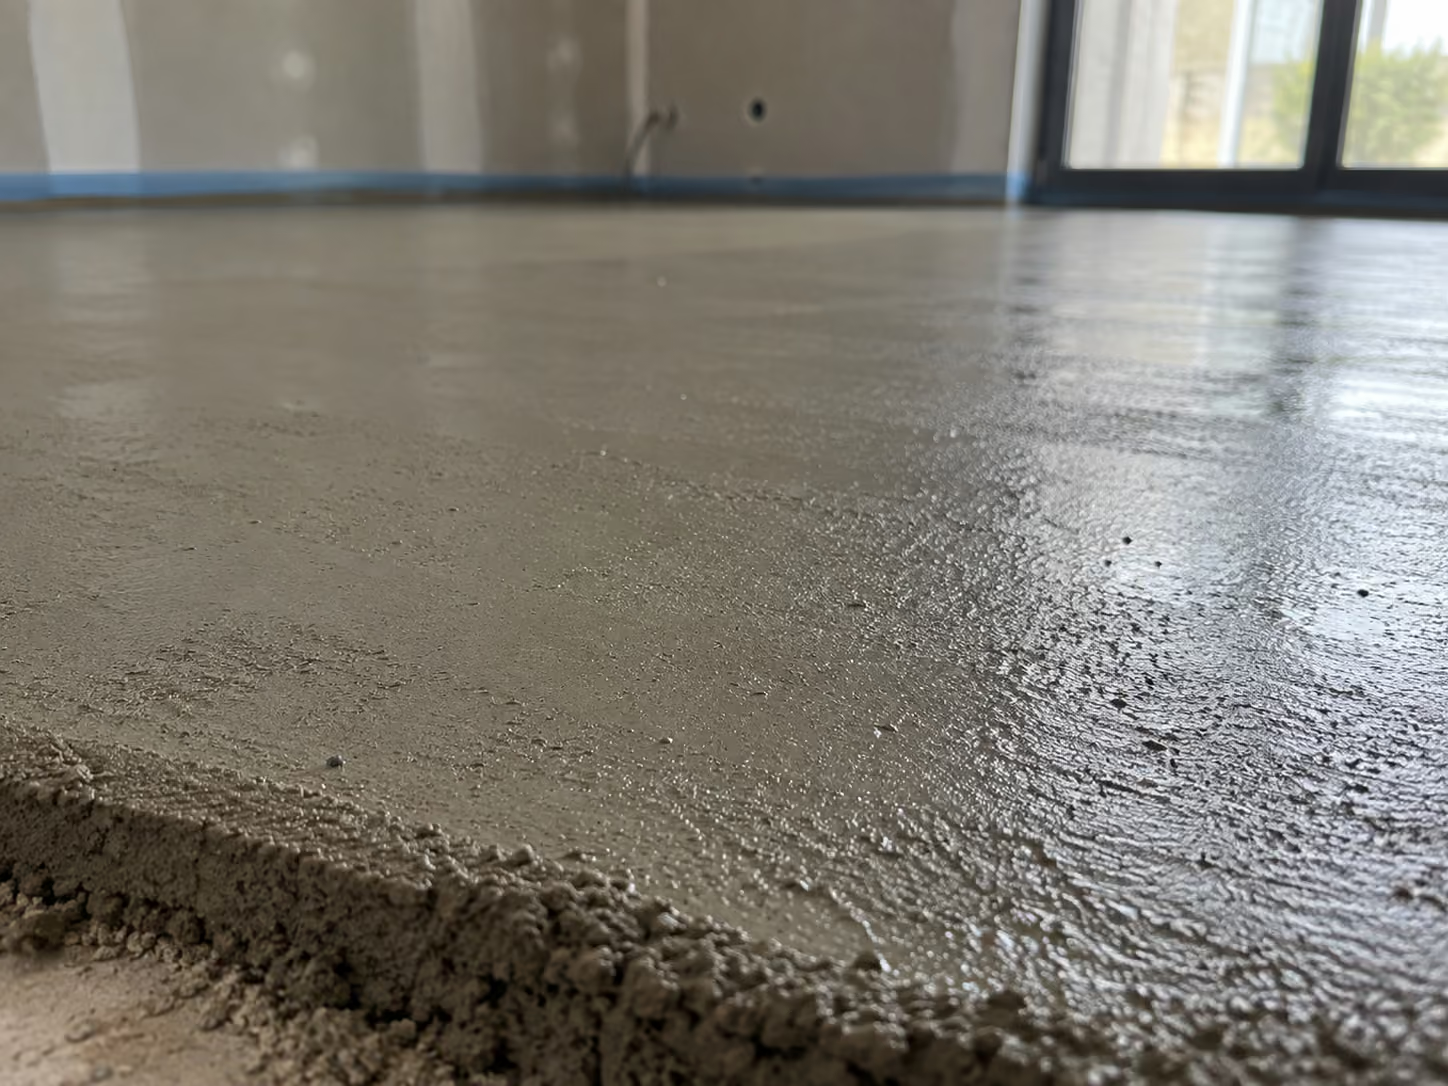
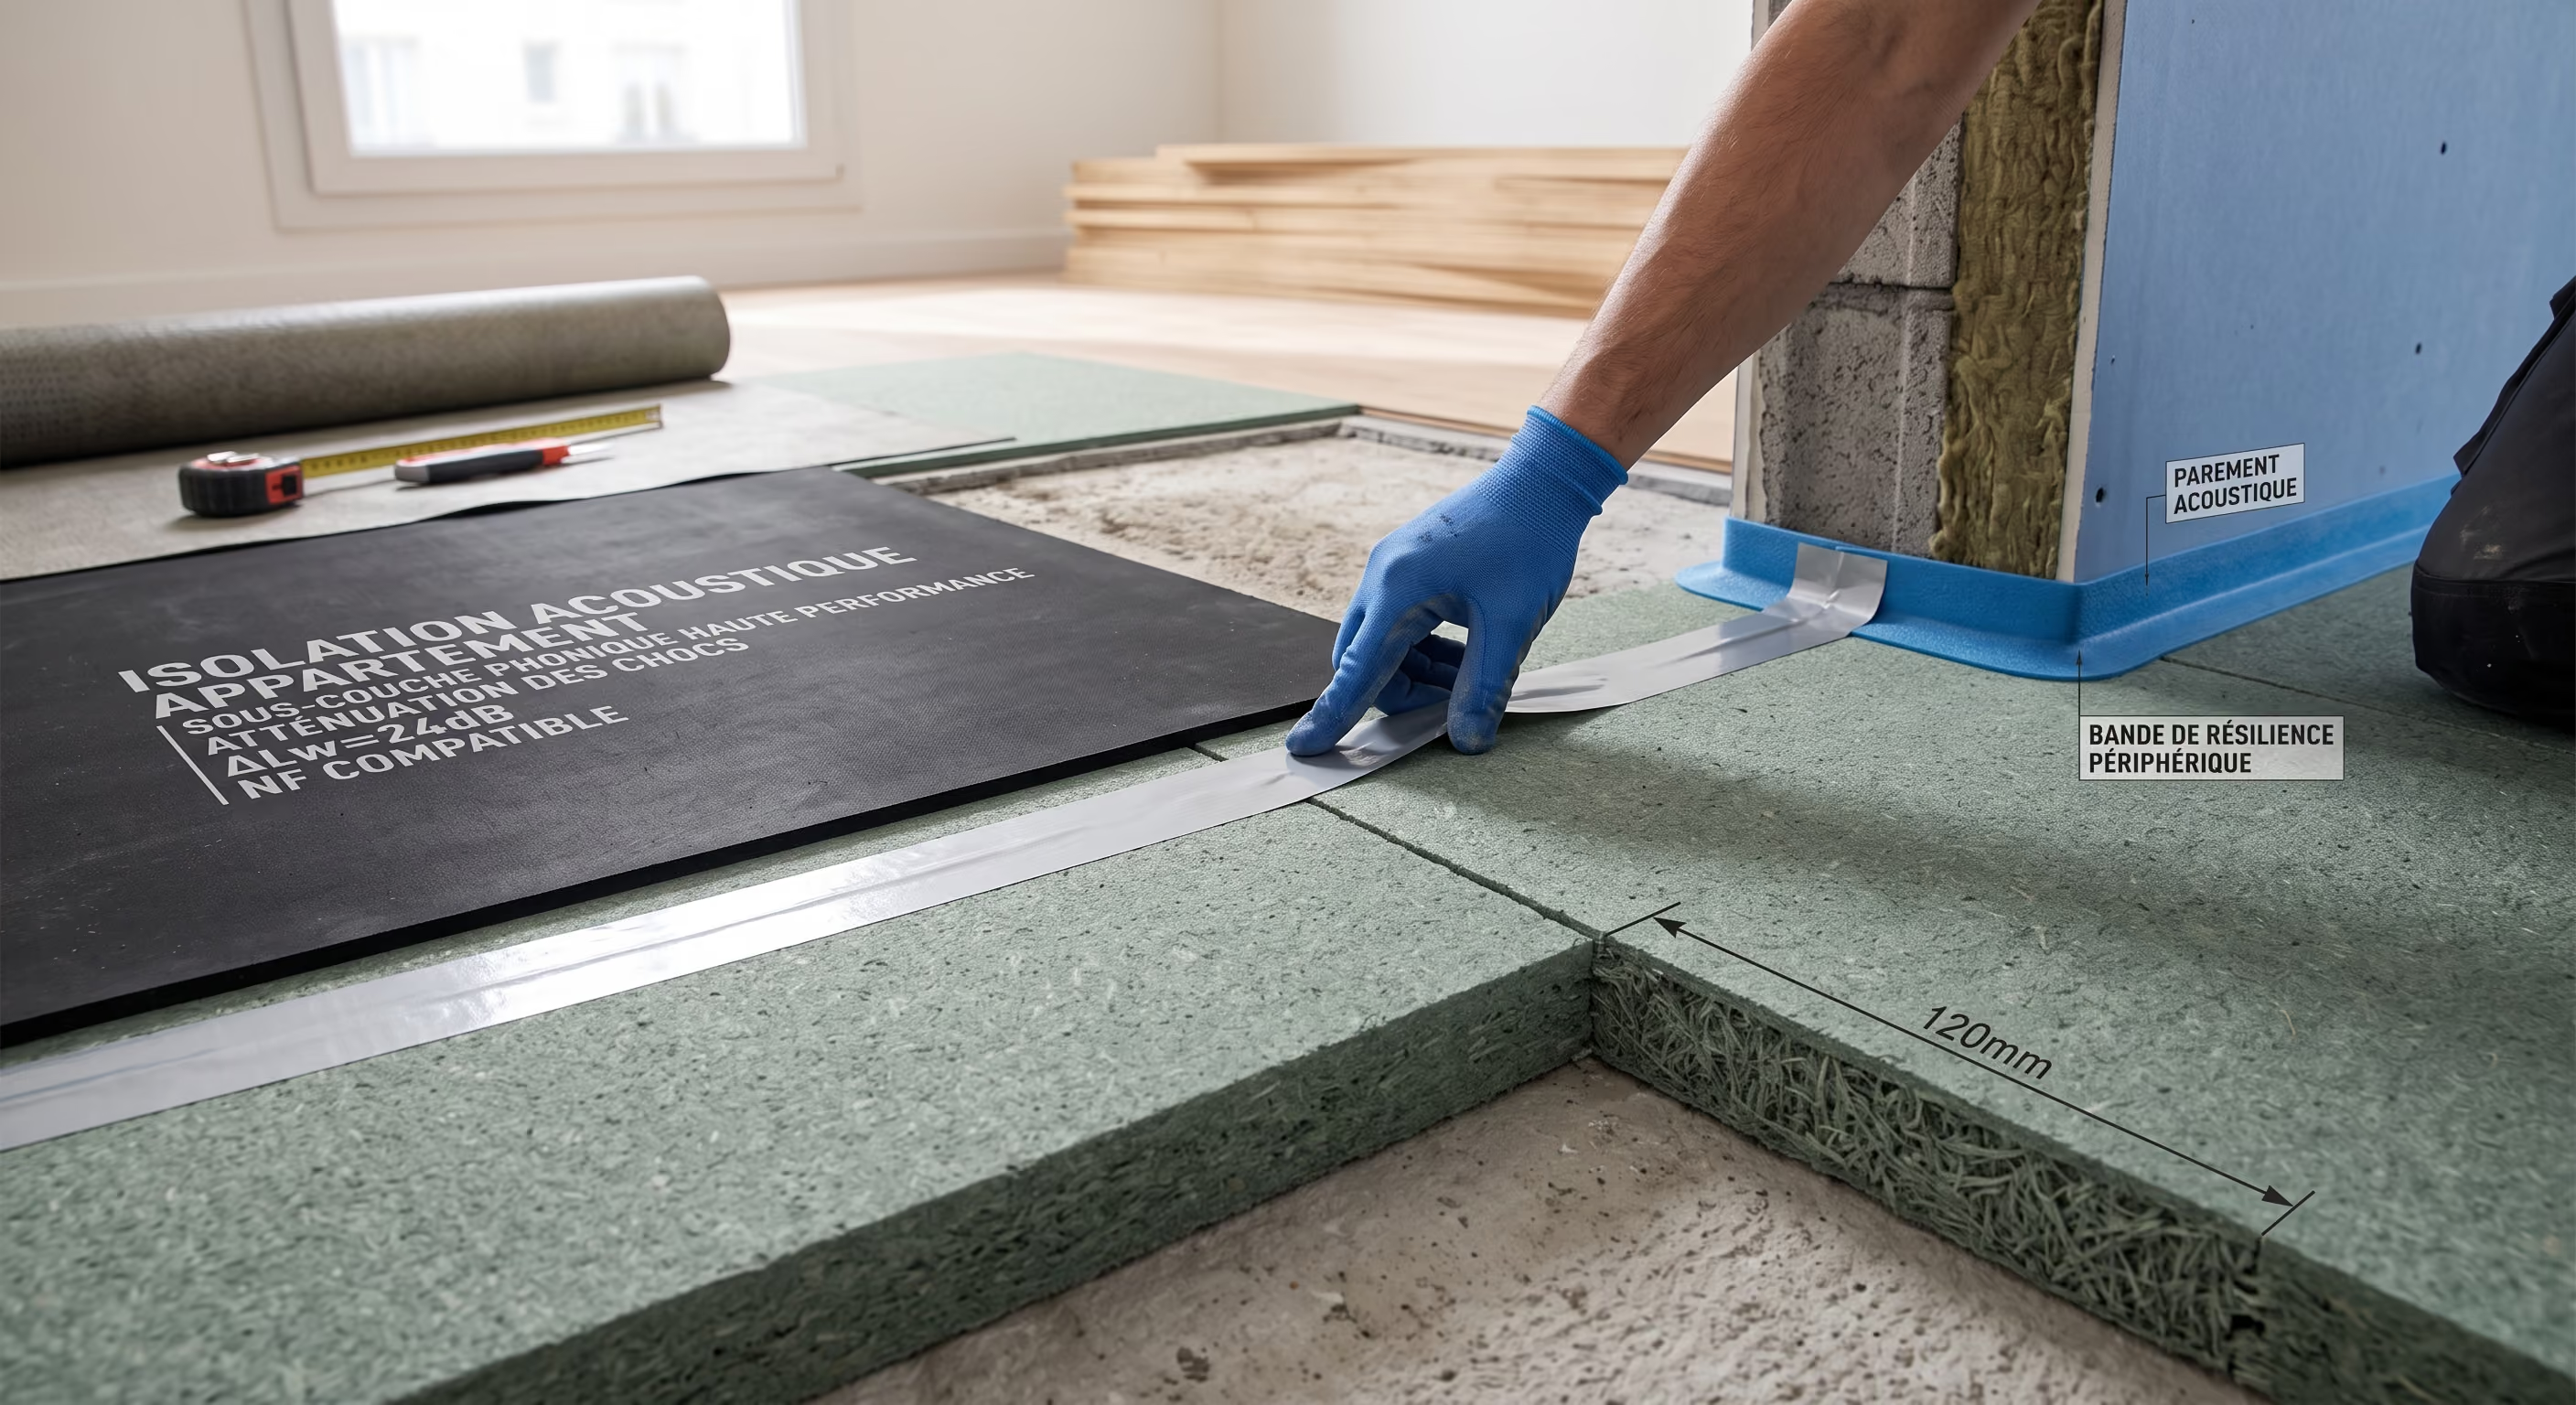
What screed thickness should you plan for by type and substrate? The minimums required in Belgium, what changes with insulation or underfloor heating, and how to measure a screed already poured.
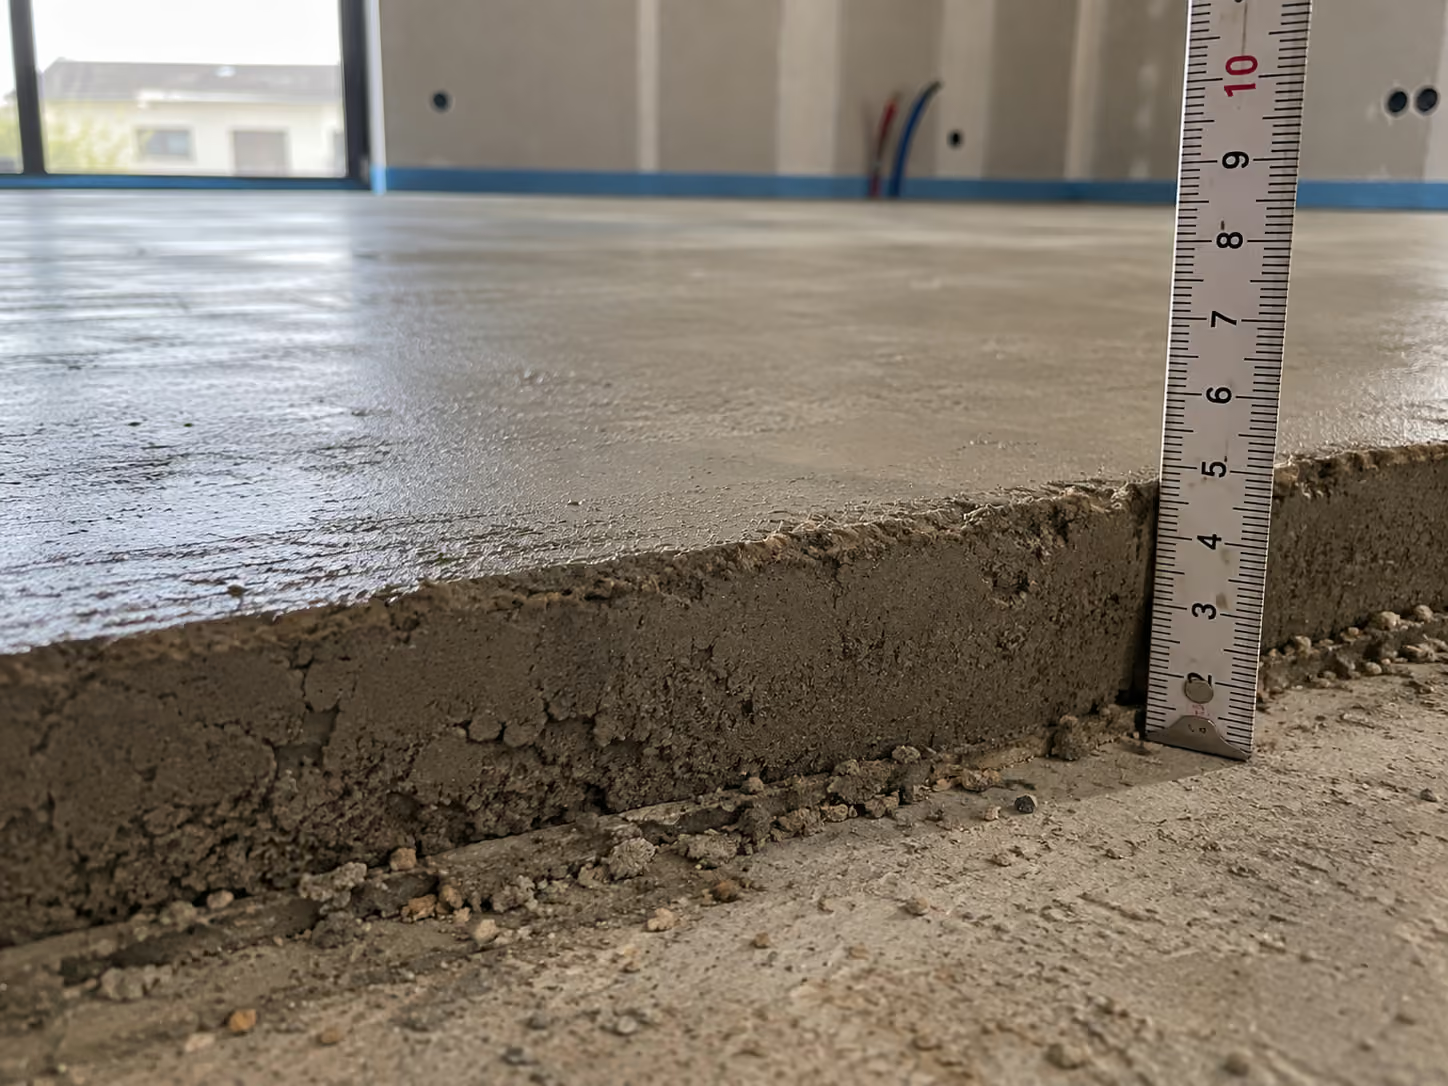
In Belgium, the minimum thickness of a screed depends on the way it rests on its substrate. Buildwise technical note TV 189 (formerly CSTC/WTCB) sets 3 cm for an unreinforced bonded cement-based screed and 5 cm for a floating or unbonded one. These are minimums, not design thicknesses.
The essentials in three points
Screed thicknesses are not a matter of company habit. In Belgium the reference is Technical Note 189 from Buildwise, devoted to screeds for floor coverings, complemented by TV 193 on installation.
Much French-language content on the subject cites the French DTU standards. Those documents do not apply in Belgium. The Walloon Region's standard building specification reproduces these thicknesses in its articles on bonded and floating cement-based screeds.
A bonded screed is poured directly onto the substrate, with which it forms a single body. It does not work in bending: the substrate takes the forces. That is what allows it to be thin.
TV 189 sets 3 cm for an unreinforced bonded cement-based screed. Below that value you are no longer dealing with a screed but with floor levelling, whose function is different: correcting a surface, not forming a load-bearing layer. The distinction is set out in our article levelling or screed.
The condition for success is not thickness but substrate preparation. A dusty, closed or soiled substrate gives a screed that debonds, whatever its thickness. See the bonded screed entry.
As soon as a layer comes between the substrate and the screed, insulation, acoustic underlay or simply a membrane, the screed ceases to be supported. It behaves like a slab resting on a mattress and works in bending across its whole surface.
TV 189 then sets 5 cm as the minimum for a cement-based screed. This is not a safety margin: below it, the screed cracks under point loads, typically a furniture leg or a rolling load.
The same value applies to an unbonded screed, that is one laid on a separating membrane without insulation. The absence of a bond with the substrate is enough to impose the thickness. See the floating screed entry.
Two 5 cm screeds laid on two different insulants do not behave in the same way. The more compressible the insulation, the more the screed deforms under load, and the thicker it must be to compensate.
That is why a poured insulating mortar, which hardens and forms a rigid bed, does not impose the same screed thickness as a soft acoustic underlay, whose compressibility is precisely its function. The choice of insulant and the choice of screed thickness are decided together, never one after the other.
Our article on floor insulation by substrate details the configurations encountered in Belgium.
This is the most frequent source of misunderstanding on a quotation. When underfloor heating is embedded in the screed, the part below and around the pipes does not contribute to mechanical strength in the same way as the continuous part above.
The useful thickness is therefore the cover over the pipes. A screed stated at 6 cm over 16 mm pipes on clip rails may leave only 3 to 4 cm of real cover. That value must be explicit on the quotation.
Too thin, the cover lets the pattern of the circuits show through the floor and the screed cracks along the pipes. Too thick, it increases inertia and lengthens the response time of the heating. The full protocol is in our guide to screeds with underfloor heating.
A flow screed reaches equivalent strength with less thickness than a traditional screed levelled with a rail. It is homogeneous through its whole section, without the variations in compaction that are inevitable with hand laying.
That is the decisive argument in renovation, where every centimetre saved on the screed is a centimetre available for insulation. In exchange, an anhydrite screed dries far more slowly and its surface laitance must be sanded before the floor covering goes down.
The values below are the normative minimums and the thicknesses commonly laid in Belgium. The minimum is never a design target.
| Method of installation | Minimum TV 189 | Usual thickness | Why that minimum |
|---|---|---|---|
| Unreinforced bonded screed, cement | 3 cm | 3 to 5 cm | The substrate takes the forces, the screed does not work in bending |
| Unbonded screed, on membrane | 5 cm | 5 to 6 cm | No bond with the substrate, the screed works alone |
| Floating screed, on insulation | 5 cm | 5 to 7 cm | It flexes on a compressible layer, thickness carries the bending |
| Screed over underfloor heating | Counted above the pipes | Cover stated explicitly on the quotation | Too thin: the circuit pattern shows and the screed cracks |
| Flow screed | Lower at equal performance | Depends on product and substrate | Homogeneous section, no variation in compaction |
| Dry screed | Not applicable, not poured | Depends on the system | No hydraulic set, therefore no minimum of this kind |
The classic situation is this: 7 cm between the old floor and the finished level imposed by the thresholds, tiles of 1 cm with their adhesive, and 5 to 5.5 cm left for insulation and screed. The 5 cm minimum for a floating screed leaves nothing.
Three routes exist. Switch to a flow screed to save on screed thickness. Give up insulation under the screed and return to a bonded screed of 3 cm, which assumes thermal insulation is dealt with elsewhere. Or choose a dry screed, which does not fall under these minimum thicknesses since it is not poured.
The choice between these routes is made alongside the other constraints of the site. Our decision guide on choosing a screed sets out the five questions to settle.
The simplest method remains drilling in a discreet area, typically in a corner or under a future unit. The change in resistance under the bit marks the transition from screed to substrate.
With underfloor heating, this method must be avoided: the risk of piercing a pipe is real and the repair is heavy. You then need a thermal camera to locate the circuits before any intervention, or a reading at the perimeter, after lifting a skirting, where the edge strip leaves the section accessible.
Taking the normative minimum as a target. The 5 cm of a floating screed is a floor, not an objective. A negative laying tolerance on an irregular substrate can take some zones below the minimum without anyone seeing it.
Adding centimetres out of caution. A thicker screed dries more slowly, weighs more on the floor and shows greater total shrinkage. Misplaced prudence creates the very problem it believes it is avoiding.
Fixing the insulation thickness before the screed thickness. The correct order starts from the imposed finished level, deducts the floor covering and its adhesive, then the minimum screed thickness for the type selected. What remains is the possible insulation thickness, and not the other way round.
A thickness error cannot be put right after pouring. It is corrected at the survey, beforehand, while it is still possible to trade off between insulation, type of screed and finished level.
Send us the dimensions of your site, the available height and the intended floor covering. We will tell you the screed thickness that is achievable and what it leaves for insulation. Discover our screed laying service or request a survey.
Last updated: September 2026. Sources: Buildwise (formerly CSTC/WTCB), Technical Note 189, Screeds for floor coverings, part 1; TV 193, Screeds, part 2, installation; Walloon Region standard building specification, articles on bonded and floating cement-based screeds.

Do not hesitate to contact us directly: our team is always available to assist you and provide a 100% free quote.


Your expert in screeds, thermal insulation, and acoustic floor insulation.