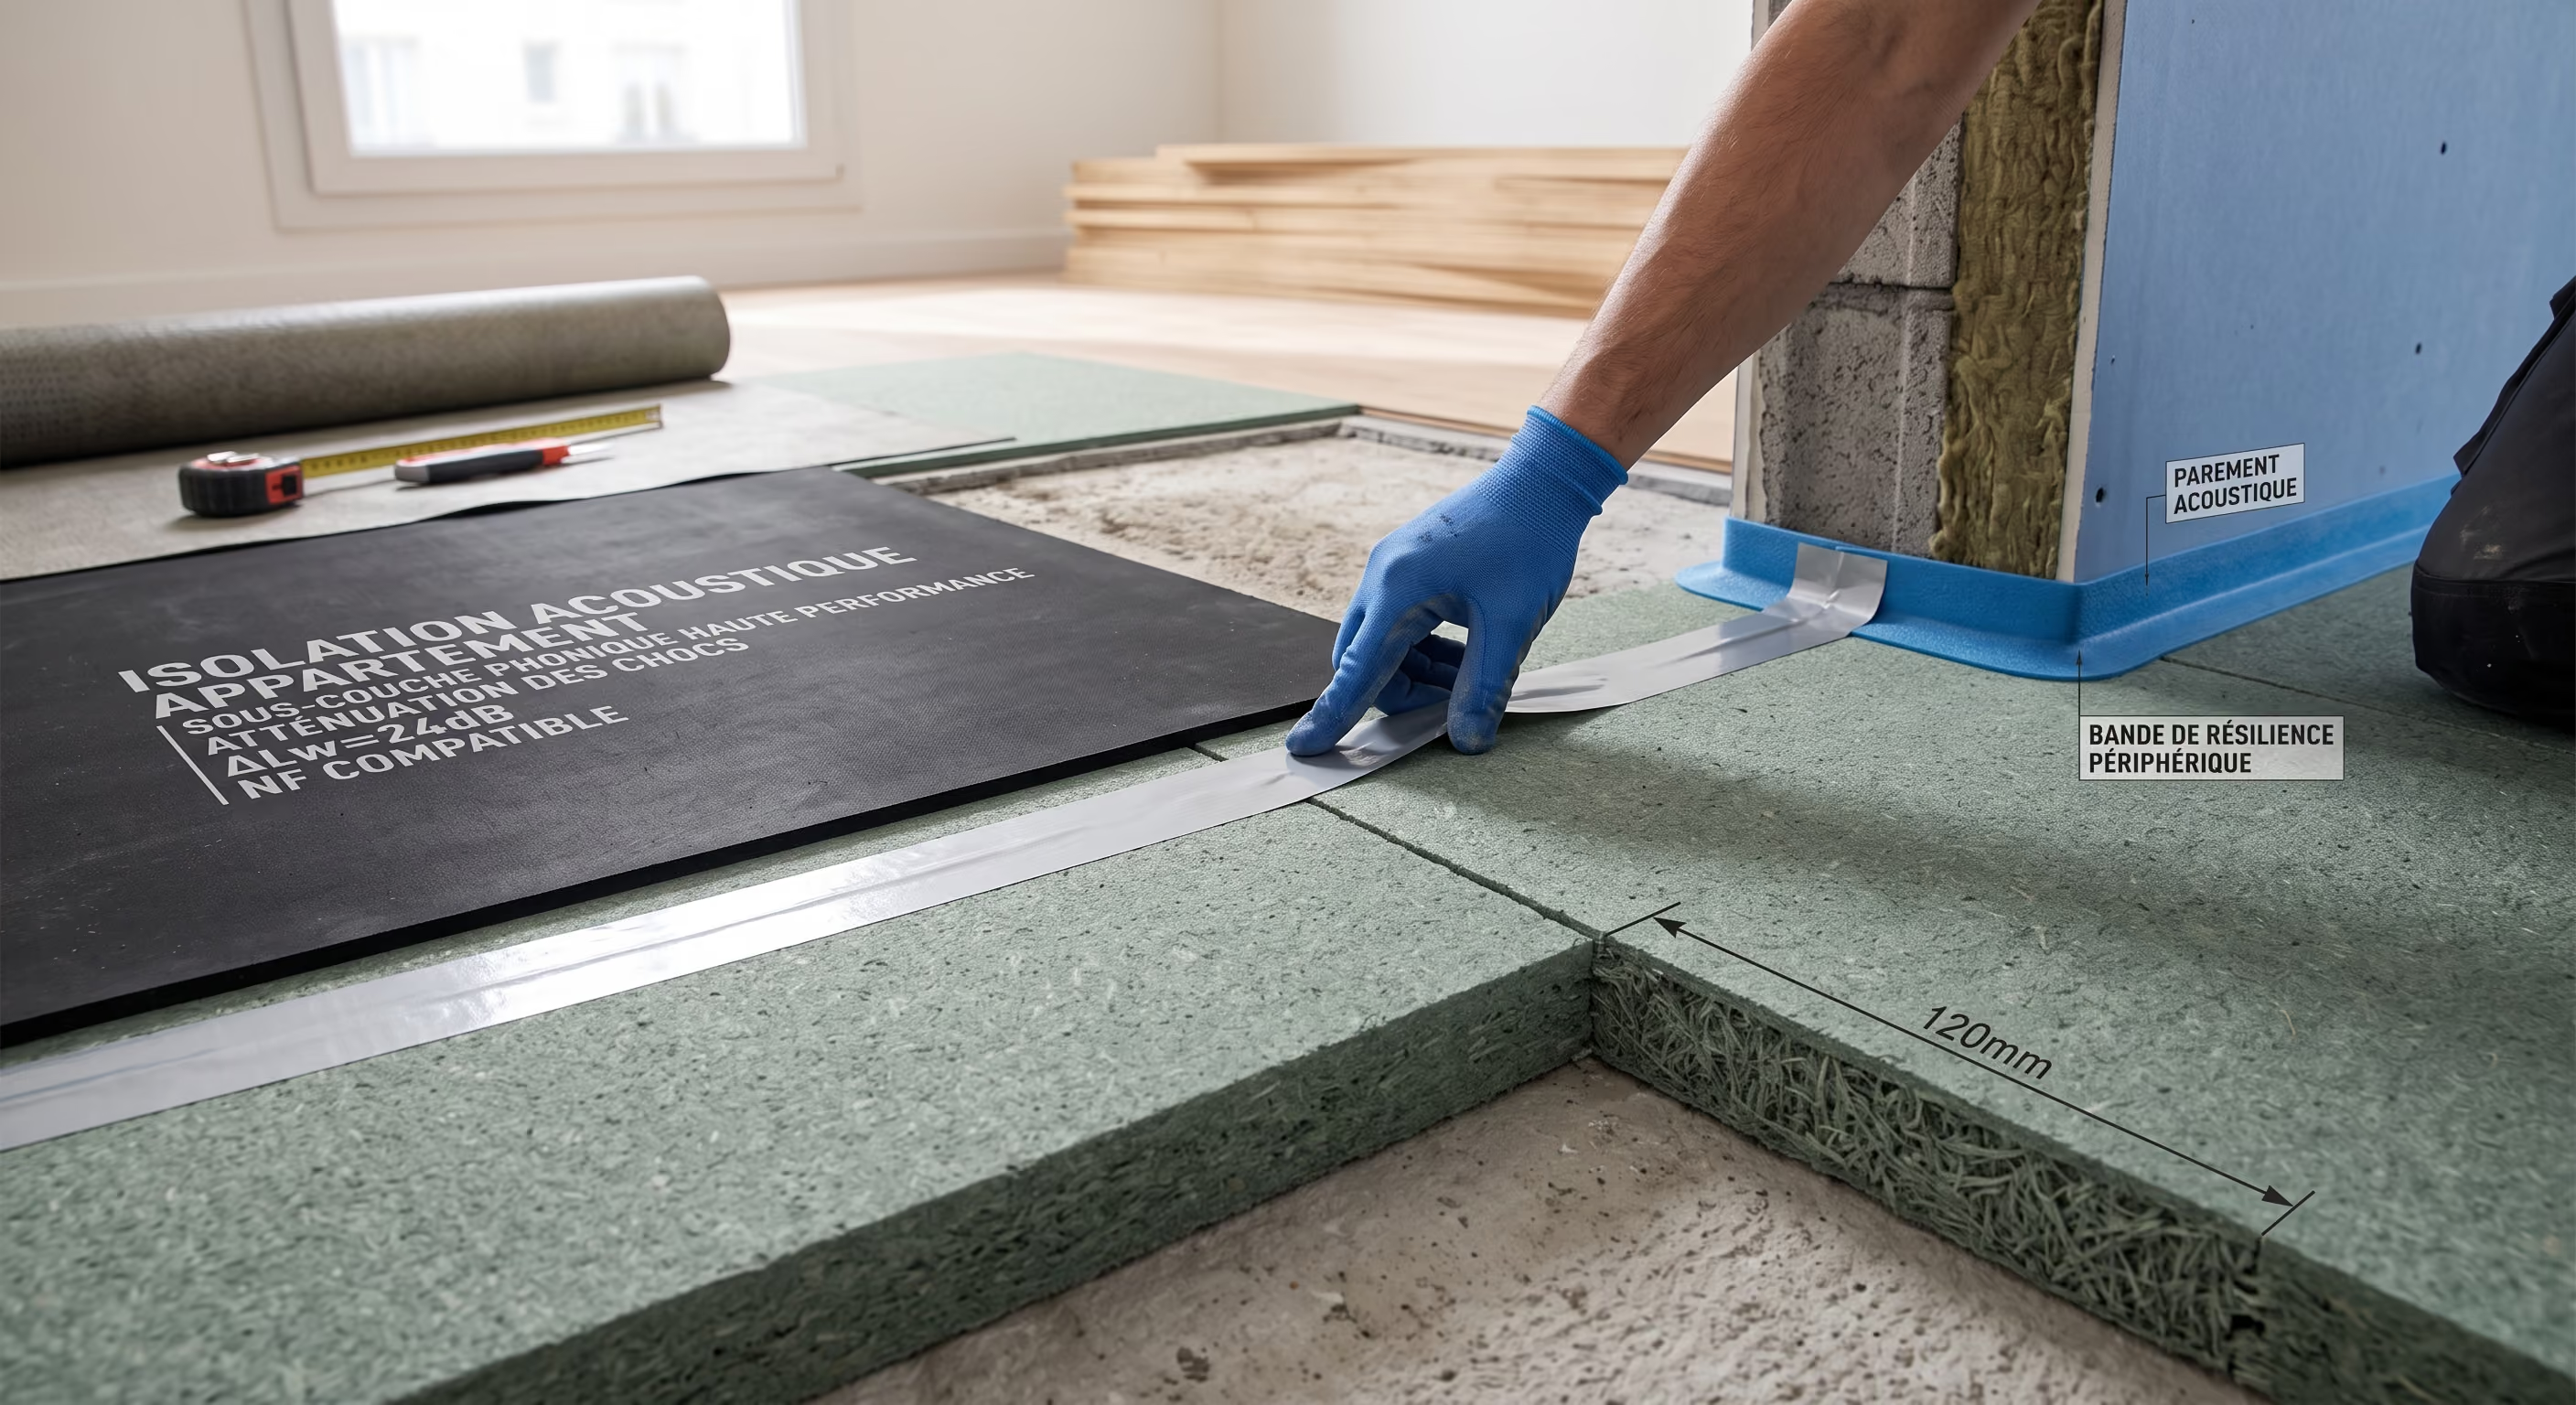
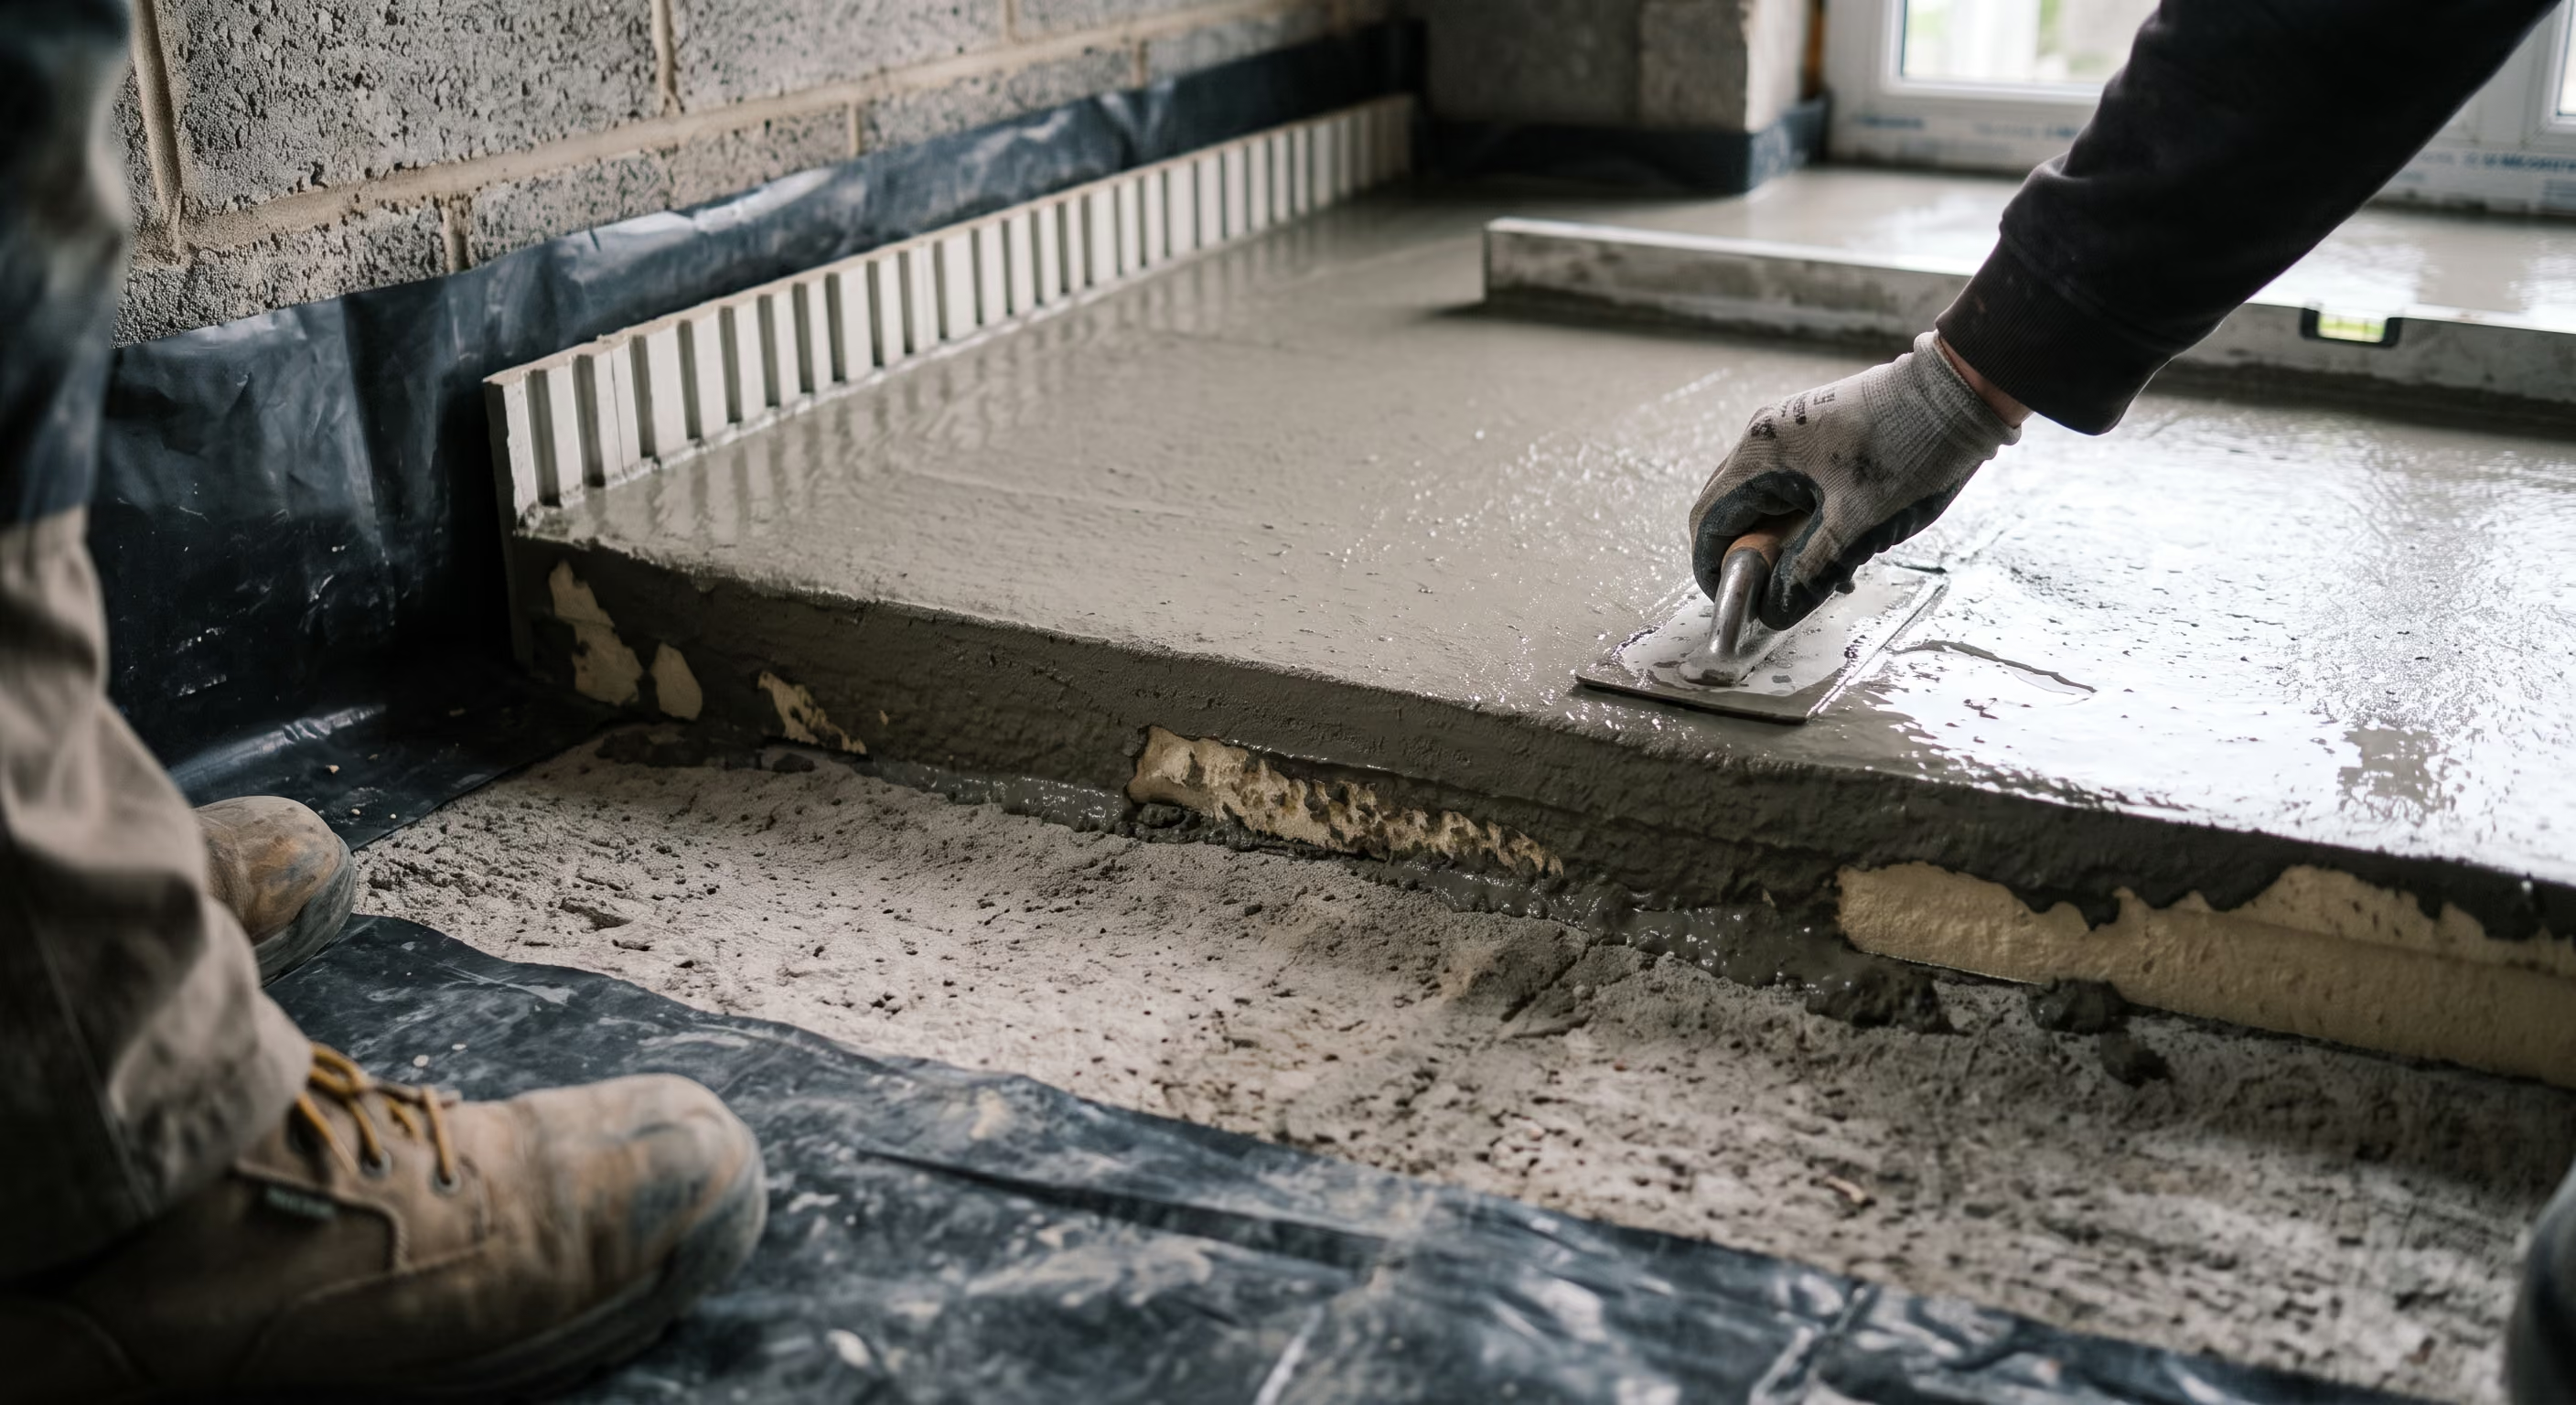
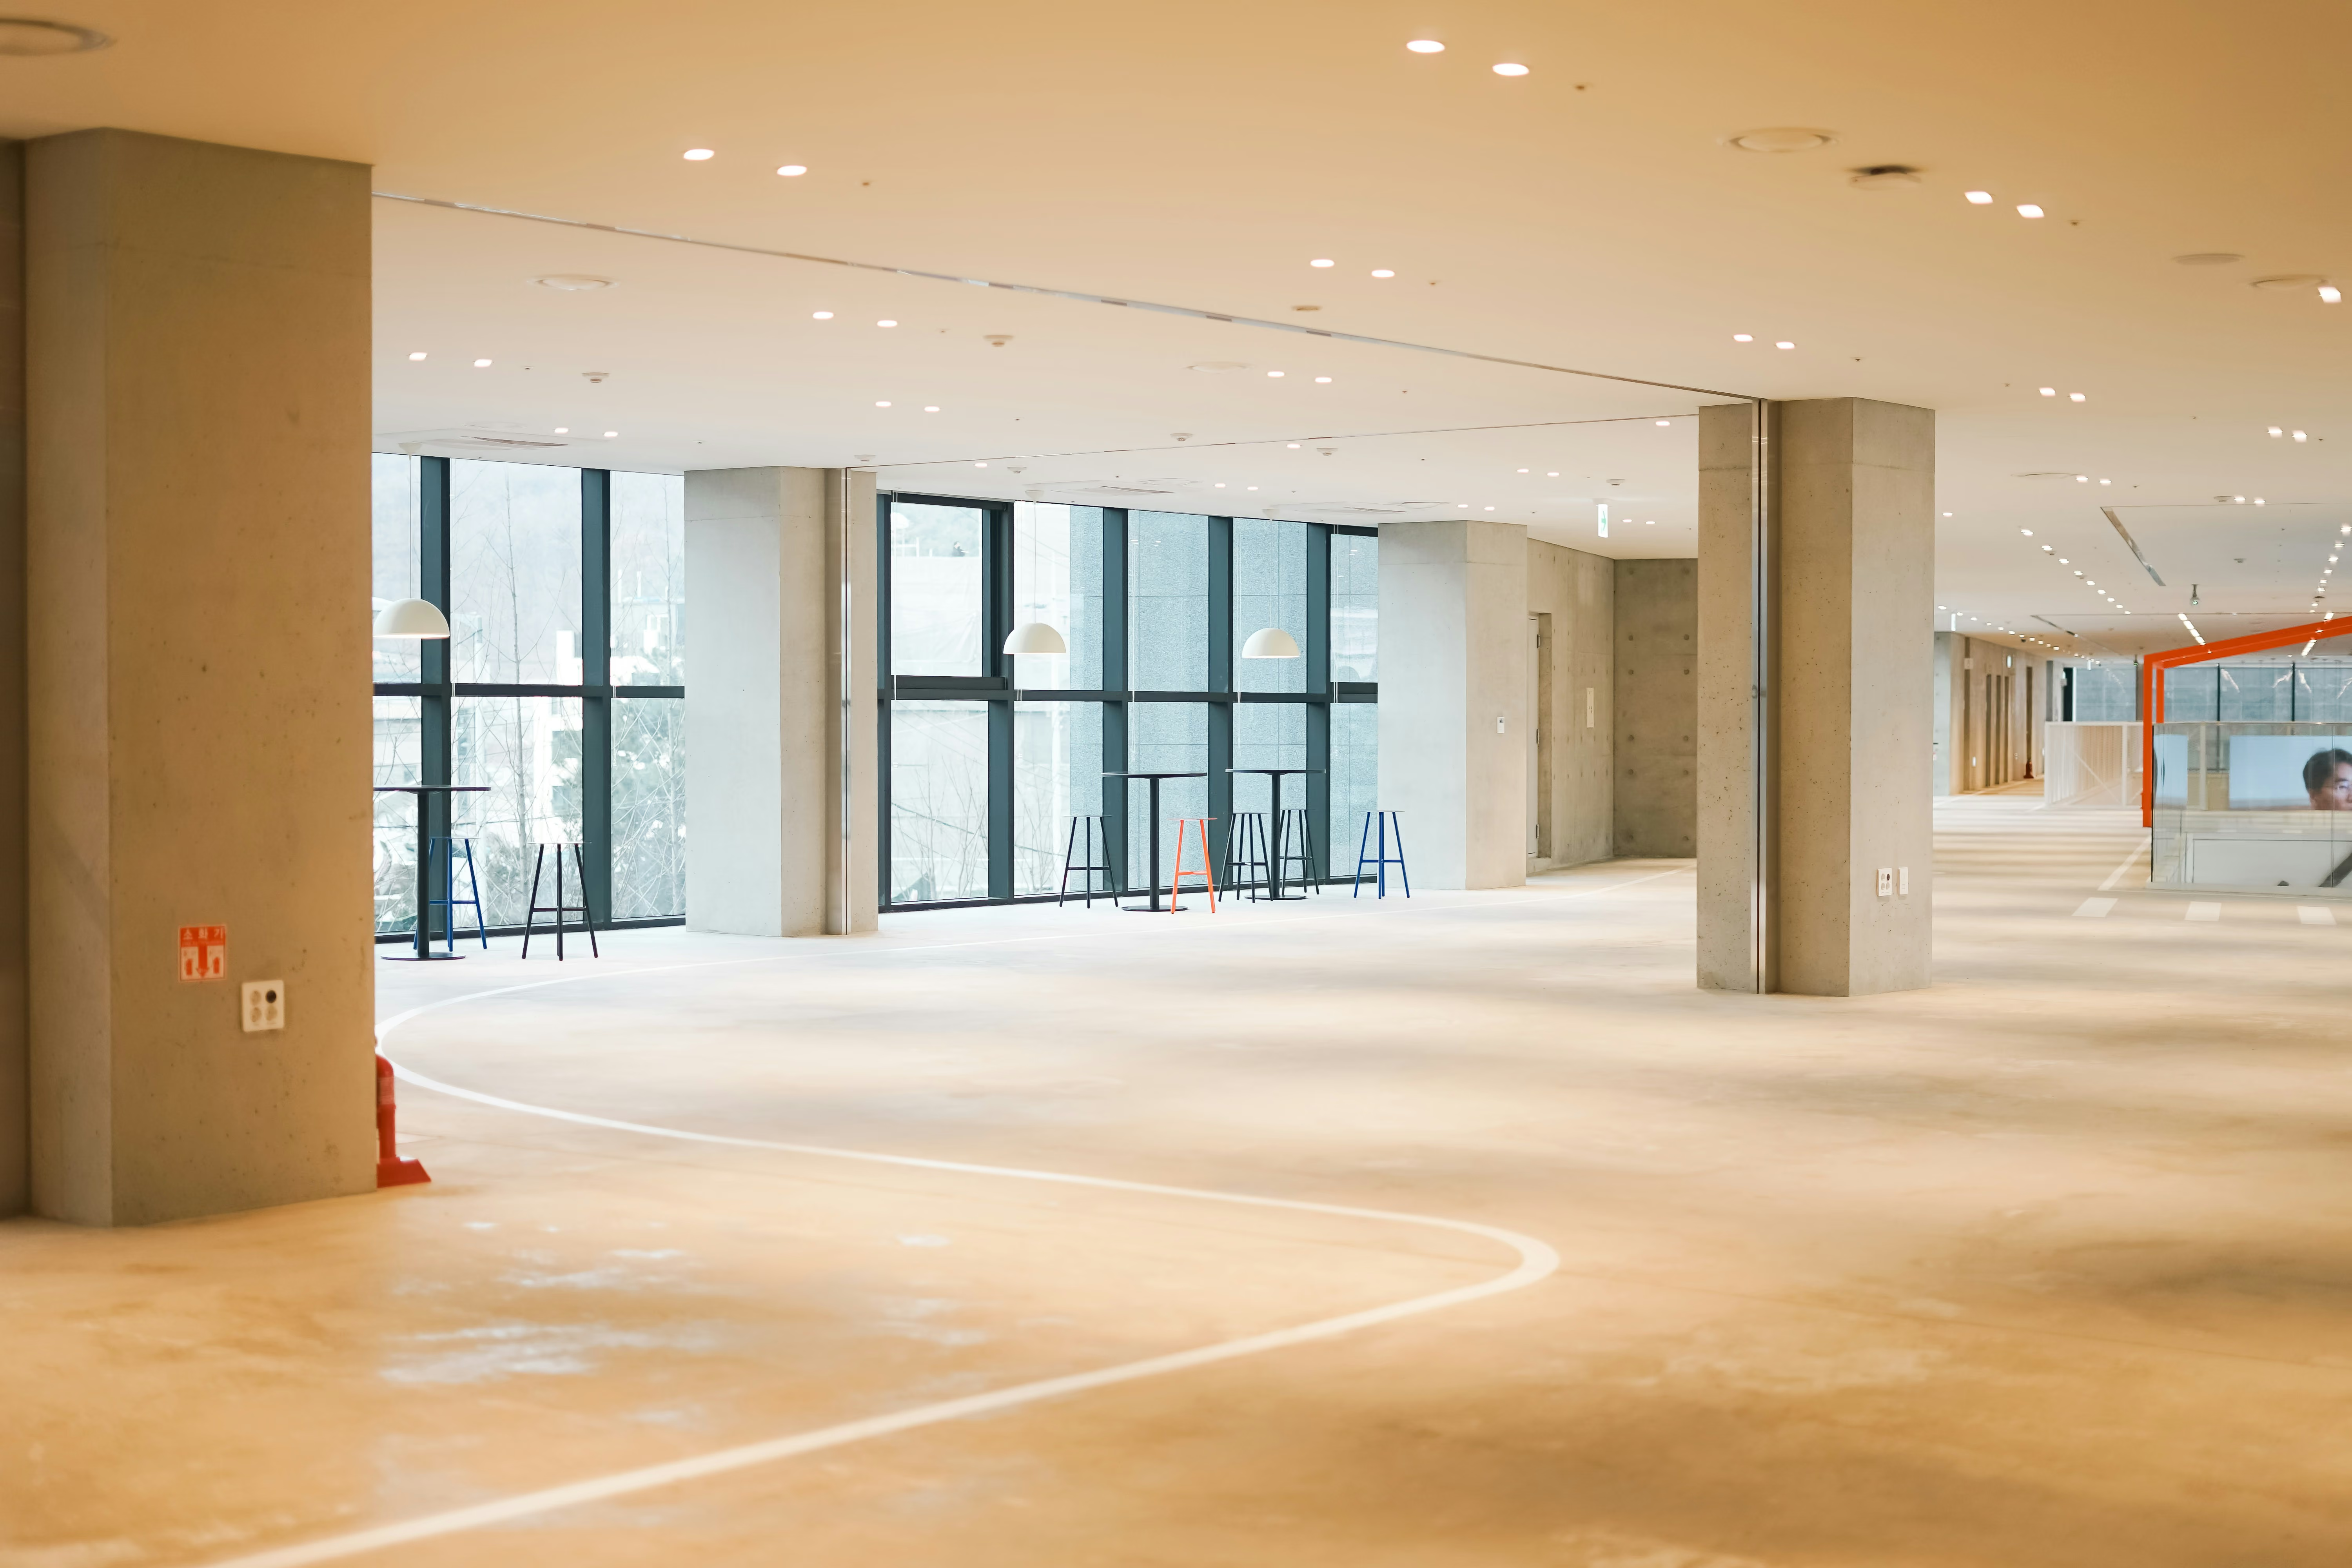
Slab-on-grade, old uneven slabs, wooden floors, or floors over a basement or crawl space: each subfloor requires its own insulation technique. Here is your decision guide, from diagnosis to material selection.
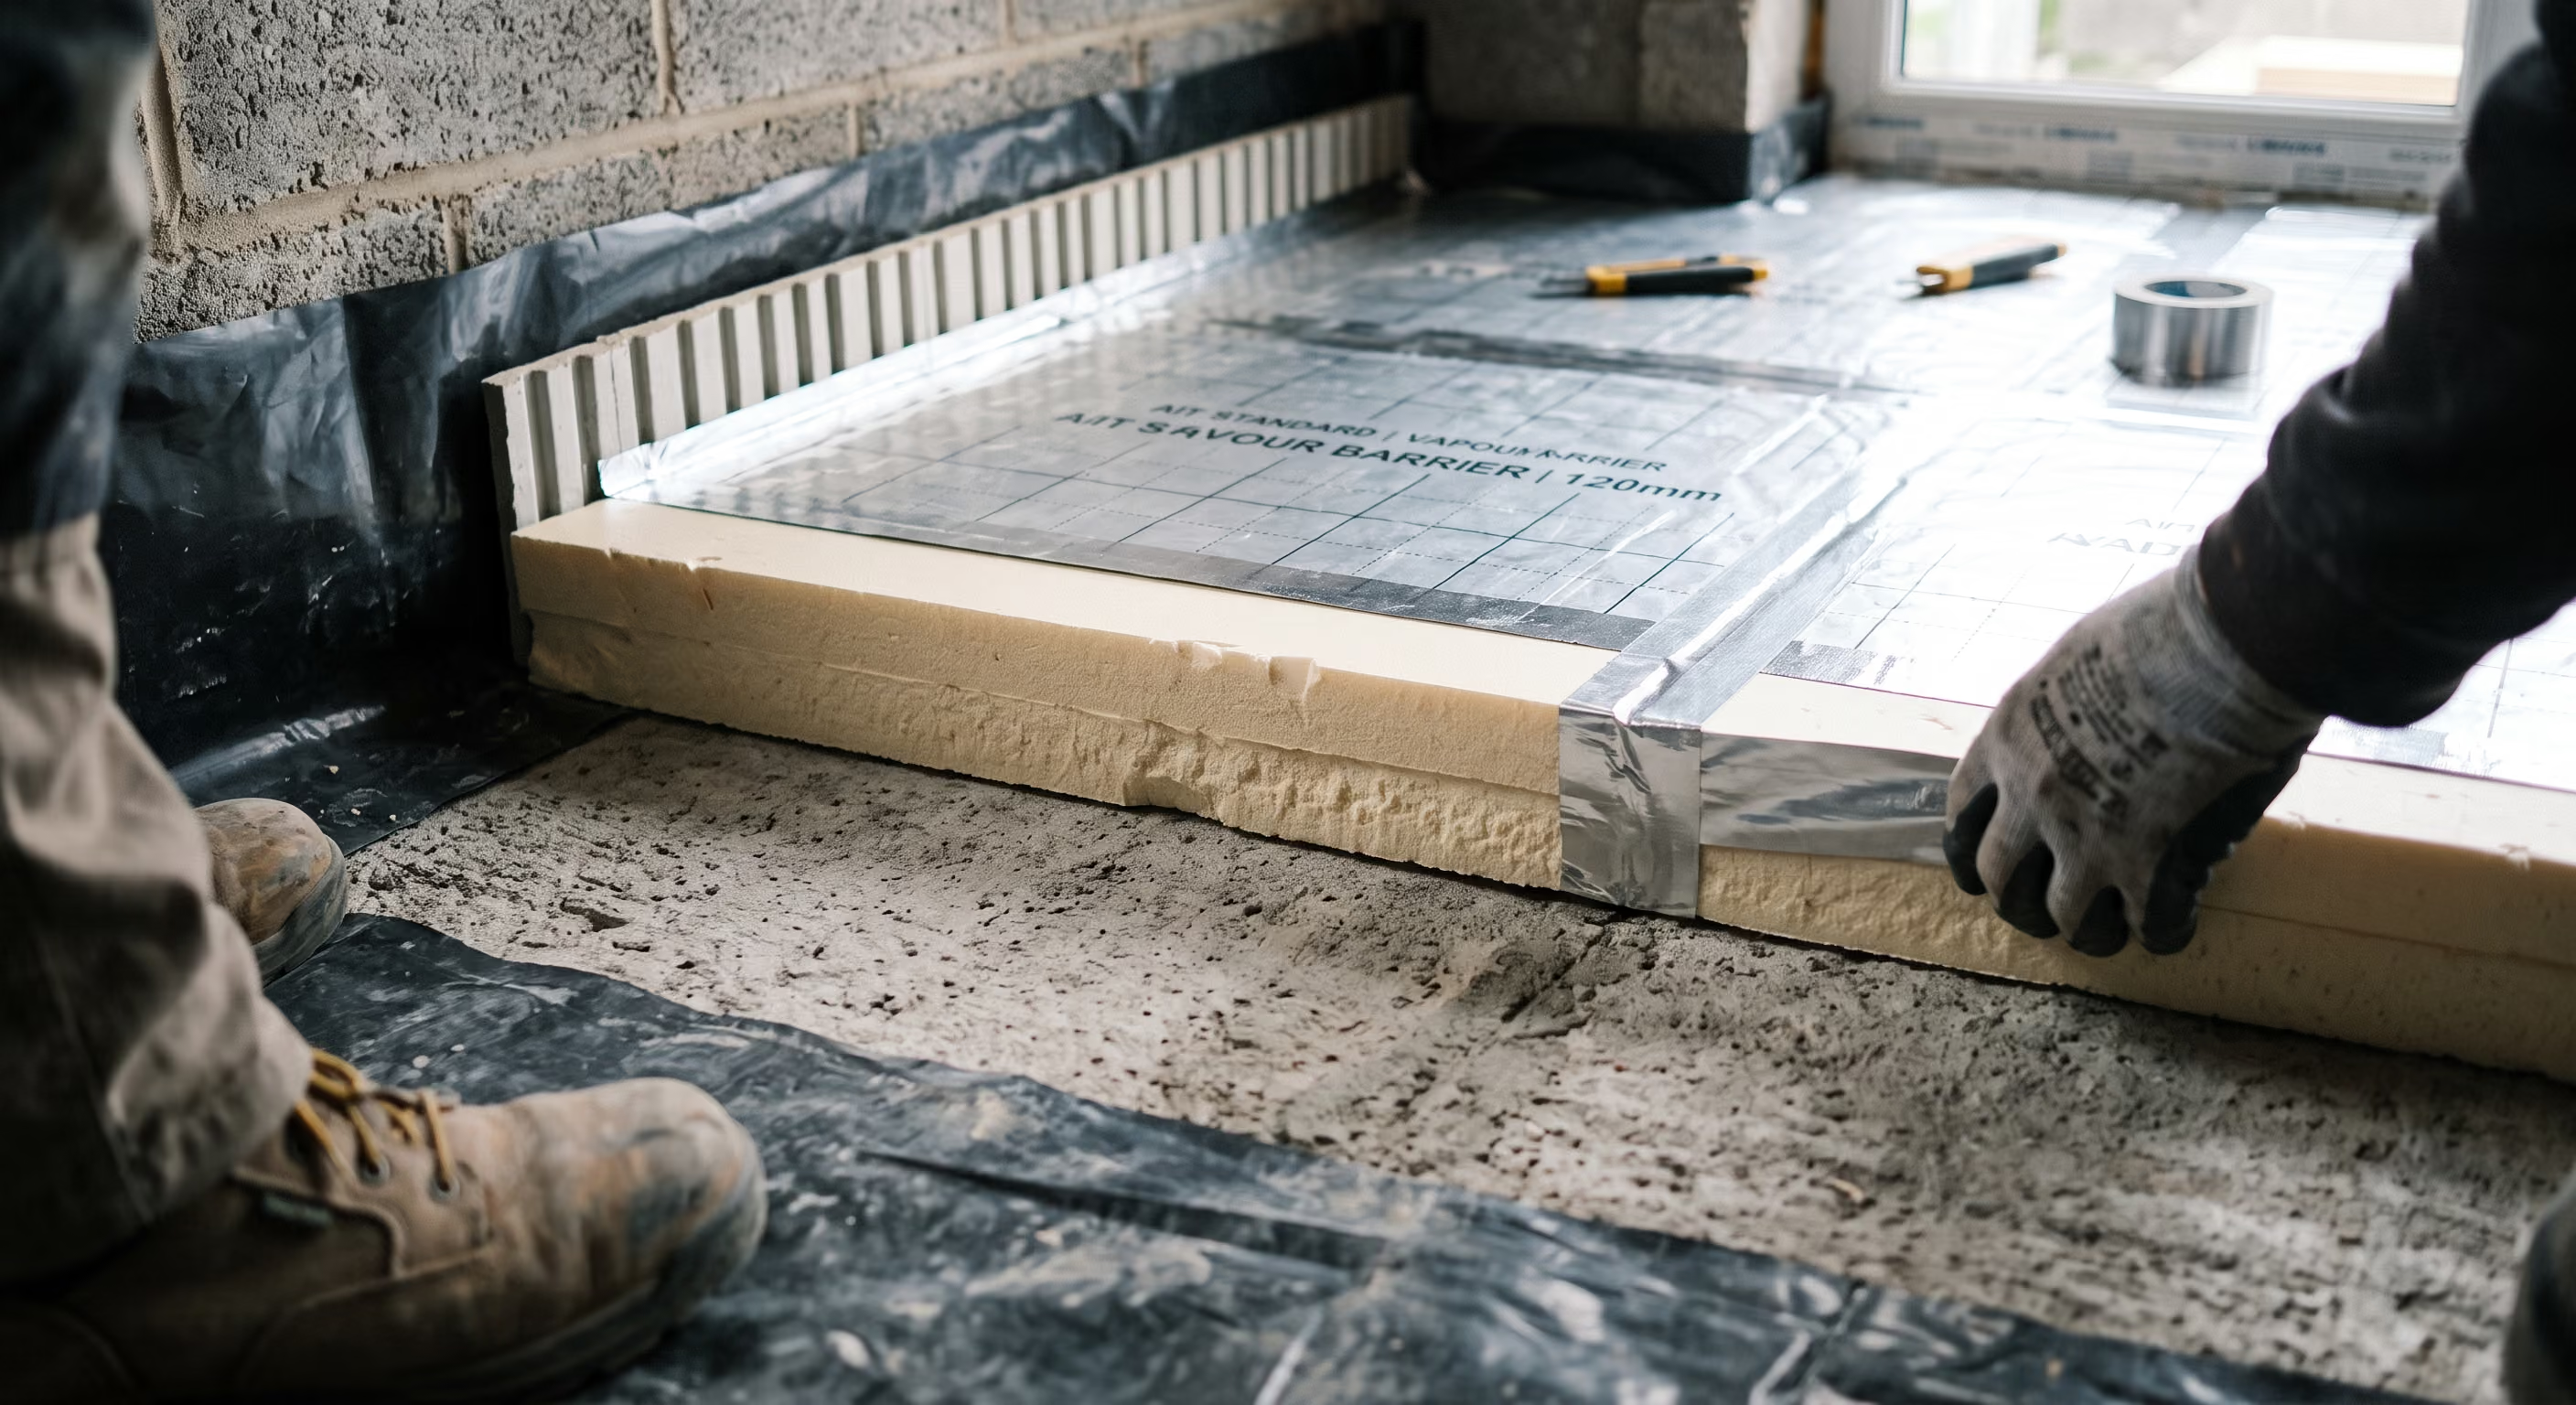
Choosing floor insulation isn't about comparing materials; it’s about starting with what is already beneath your feet. A slab-on-grade, a wooden floor, and a floor above a basement do not accommodate the same solutions. The subfloor determines the technique, and the technique then determines the material.
The essentials in three points
Last updated: August 2026
A raw floor is not a neutral surface. It carries a history: a slab poured in the 60s, a wooden floor that has shifted, a crawl space with an unknown exact height, or pipes added over the course of various renovations.
These constraints are non-negotiable. They determine what is physically installable before you even open a catalog.
The reasoning process should therefore follow three steps, in this order. First, identify the subfloor and its condition. Next, determine the possible technique: insulating from above, from below, or within the structure. Finally, choose the material suited to that technique.
Doing the opposite—starting with the material—leads to projects where the chosen insulation doesn't fit, where you are three centimeters short on height, or where moisture from the subfloor degrades the insulation layer within a few years.
This is the simplest scenario, as everything is still accessible.
The insulation is installed on the slab, beneath a floating screed. The surface is level, dry, and free of exposed utilities. Rigid panels work well here: PIR, XPS, or EPS, depending on your budget and available height.
One detail cannot be fixed later: the damp-proof membrane. The Brussels Environment Sustainable Building Guide notes that for a slab on grade, this membrane must be installed before the insulation and then protected by a plastic film. Without it, ground moisture will rise into the insulation, causing it to lose some of its performance.
This is the most common configuration in renovation projects, and where panels show their limitations.
An old slab is never perfectly flat. It is pitted, bumpy, and crisscrossed with pipes and conduits installed at different times. Each panel must be cut to navigate around obstacles, and every cut creates a joint. These joints act as potential thermal bridges.
Two solutions address this problem at the source.
The sprayed PUR conforms to the exact shape of the substrate. It flows around pipes, fills in gaps, and forms a continuous, seamless layer. It is also the most efficient per centimeter, making it the default choice when height is limited.
Insulating mortar based on EPS beads is poured like a lightweight screed. It insulates and levels the floor in a single step. For height differences of several centimeters, it is more cost-effective than spraying PUR to that entire thickness.
A detailed comparison between the two can be found in our article PUR vs EPS.
A wooden floor completely changes the logic for two reasons.
The first is mechanical. The load-bearing capacity is limited, which often rules out a traditional thick screed. Dry or lightweight solutions take over.
The second is hygrometric. Wood must be able to manage water vapor; otherwise, condensation forms within the structure and eventually degrades it.
When the structure is accessible, the Sustainable Building Guide recommends placing insulation between the joists rather than on top of them. This position preserves ceiling height and utilizes existing space. The same document clarifies a point often reversed on-site: above an unheated cellar, the vapor barrier must be installed on the warm side, which means above the wooden structure.
Getting the side wrong isn't immediately visible. It is discovered years later, once the structure has been compromised.
A convenient configuration, as it allows for insulation from below.
The principle: attach the insulation under the slab, on the cellar ceiling, without touching the ground floor. No demolition, no loss of living height, and existing floor coverings remain intact. It is the least invasive solution when feasible.
On a flat ceiling, rigid panels are sufficient. With complex geometry, sprayed PUR becomes the only consistent option. The Entreprise Isolation website points out that in Brussels and Liège houses built before 1900, where the cellar ceiling is often vaulted brick and cluttered with beams and cables, spraying is the only technique that provides a continuous layer without thermal bridges.
Two checks are required before starting, and they are not optional. First, cellar humidity: insulating a damp ceiling without treating the root cause just shifts the problem. Second, the presence of asbestos, particularly on old pipe insulation.
Everything depends on the available height.
If the crawl space is accessible, you insulate from below just like a cellar, and the work remains straightforward.
If it is too low to crawl through, access determines everything. Spray-applied interventions exist, but they require the space to be reachable and dry. In some cases, insulating from above remains the only viable path, despite the resulting loss of ceiling height.
Once the technique is decided, the choice of material comes down to three parameters. Thermal conductivity is the most well-known, but it is not the most decisive.
Thermal conductivity determines the thickness required to achieve a given level of performance. The lower it is, the thinner the layer can be.
Compressive strength is the criterion most often overlooked. Under a screed, the insulation must support the weight of the screed itself, the furniture, and the occupants. If the insulation is not dense enough, it will compress, causing the floating screed to sag and crack. As noted by Expert Isolation Belgique, compression is just as important as conductivity in the specific case of flooring.
Moisture resistance is the deciding factor for ground-bearing slabs and basements. Insulation that absorbs water loses its performance without any visible signs on the surface.
A fourth criterion applies when underfloor heating is planned: the insulation layer must reflect heat upwards rather than letting it escape into the slab. This case is covered in our article on screeds and underfloor heating.
Performance is measured by thermal resistance R, expressed in m²K/W. The higher the value, the better the floor insulation.
The threshold of R ≥ 3.50 m²K/W serves as a useful benchmark: it is the level required for the floor insulation grant in Wallonia. According to Expert Isolation Belgique, reaching this requires approximately 8 cm of PIR, 12 cm of XPS or EPS, or 14 cm of wood fiber or cork.
The difference between 8 and 14 cm is no small detail. In renovation projects, it often determines whether the design fits within the available height or if you need to trim doors, adjust thresholds, and modify the first step of the staircase.
In Flanders, the threshold for the Mijn VerbouwPremie is Rd ≥ 2 m²K/W, making it more accessible. Details by region can be found in our article on floor insulation grants.
Floors often account for an underestimated portion of heat loss. The Energiebewust Ontwerpen website estimates the savings at between 5% and 15% of heat loss for a typical Belgian home, with the higher end applying to ground floors situated above an unheated basement.
However, the most immediate effect isn't on your energy bill. It’s the elimination of cold floors, which allows you to lower your thermostat while maintaining the same level of comfort.
Regarding return on investment, the comparison site Solvari suggests a range of 6 to 9 years. This estimate depends heavily on the surface area, heating system, and floor configuration; it provides a general idea rather than a specific projection for your home.
The question is never "which insulation should I choose" but rather "what can this floor accommodate." The answer is found on-site: the condition of the subfloor, the actual height available, the presence of moisture, access from below, and the planned floor covering.
Davide Chape providesthermal floor insulation spray-applied PUR and EPS mortar, as well as the screed that goes on top. We assess the substrate before proposing a solution and provide the technical documentation required for your grant application. Request a free quote.

Do not hesitate to contact us directly: our team is always available to assist you and provide a 100% free quote.


Your expert in screeds, thermal insulation, and acoustic floor insulation.